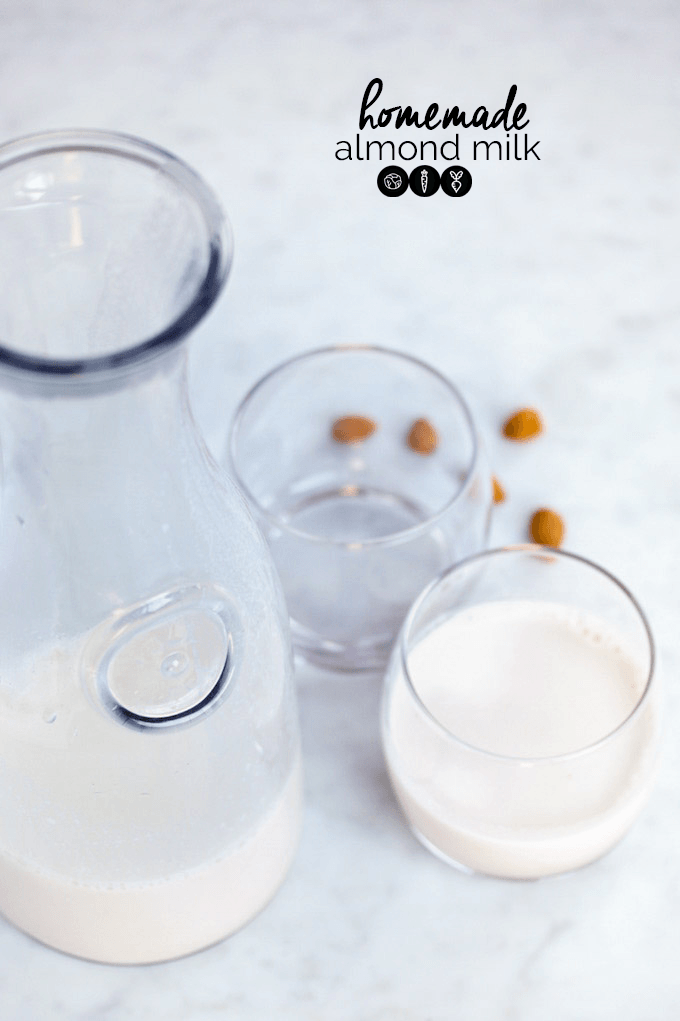
About this recipe
Making your own almond milk at home is not only a fast and effortless process, but it also comes with a multitude of benefits. Almond milk is a nutritious dairy alternative that is naturally lactose-free, making it suitable for those with lactose intolerance or following a vegan lifestyle.
When it comes to dairy-free alternatives, it’s hard to look past homemade almond milk. Creamy, nutty, and versatile, almond milk is a timeless classic that can be used in so many ways.
Not only does it taste great, but it’s also packed with nutrients and health benefits. Whether you’re vegan, lactose intolerant, or simply looking to mix things up in the kitchen, a homemade almond milk recipe is a must-try.
What you need
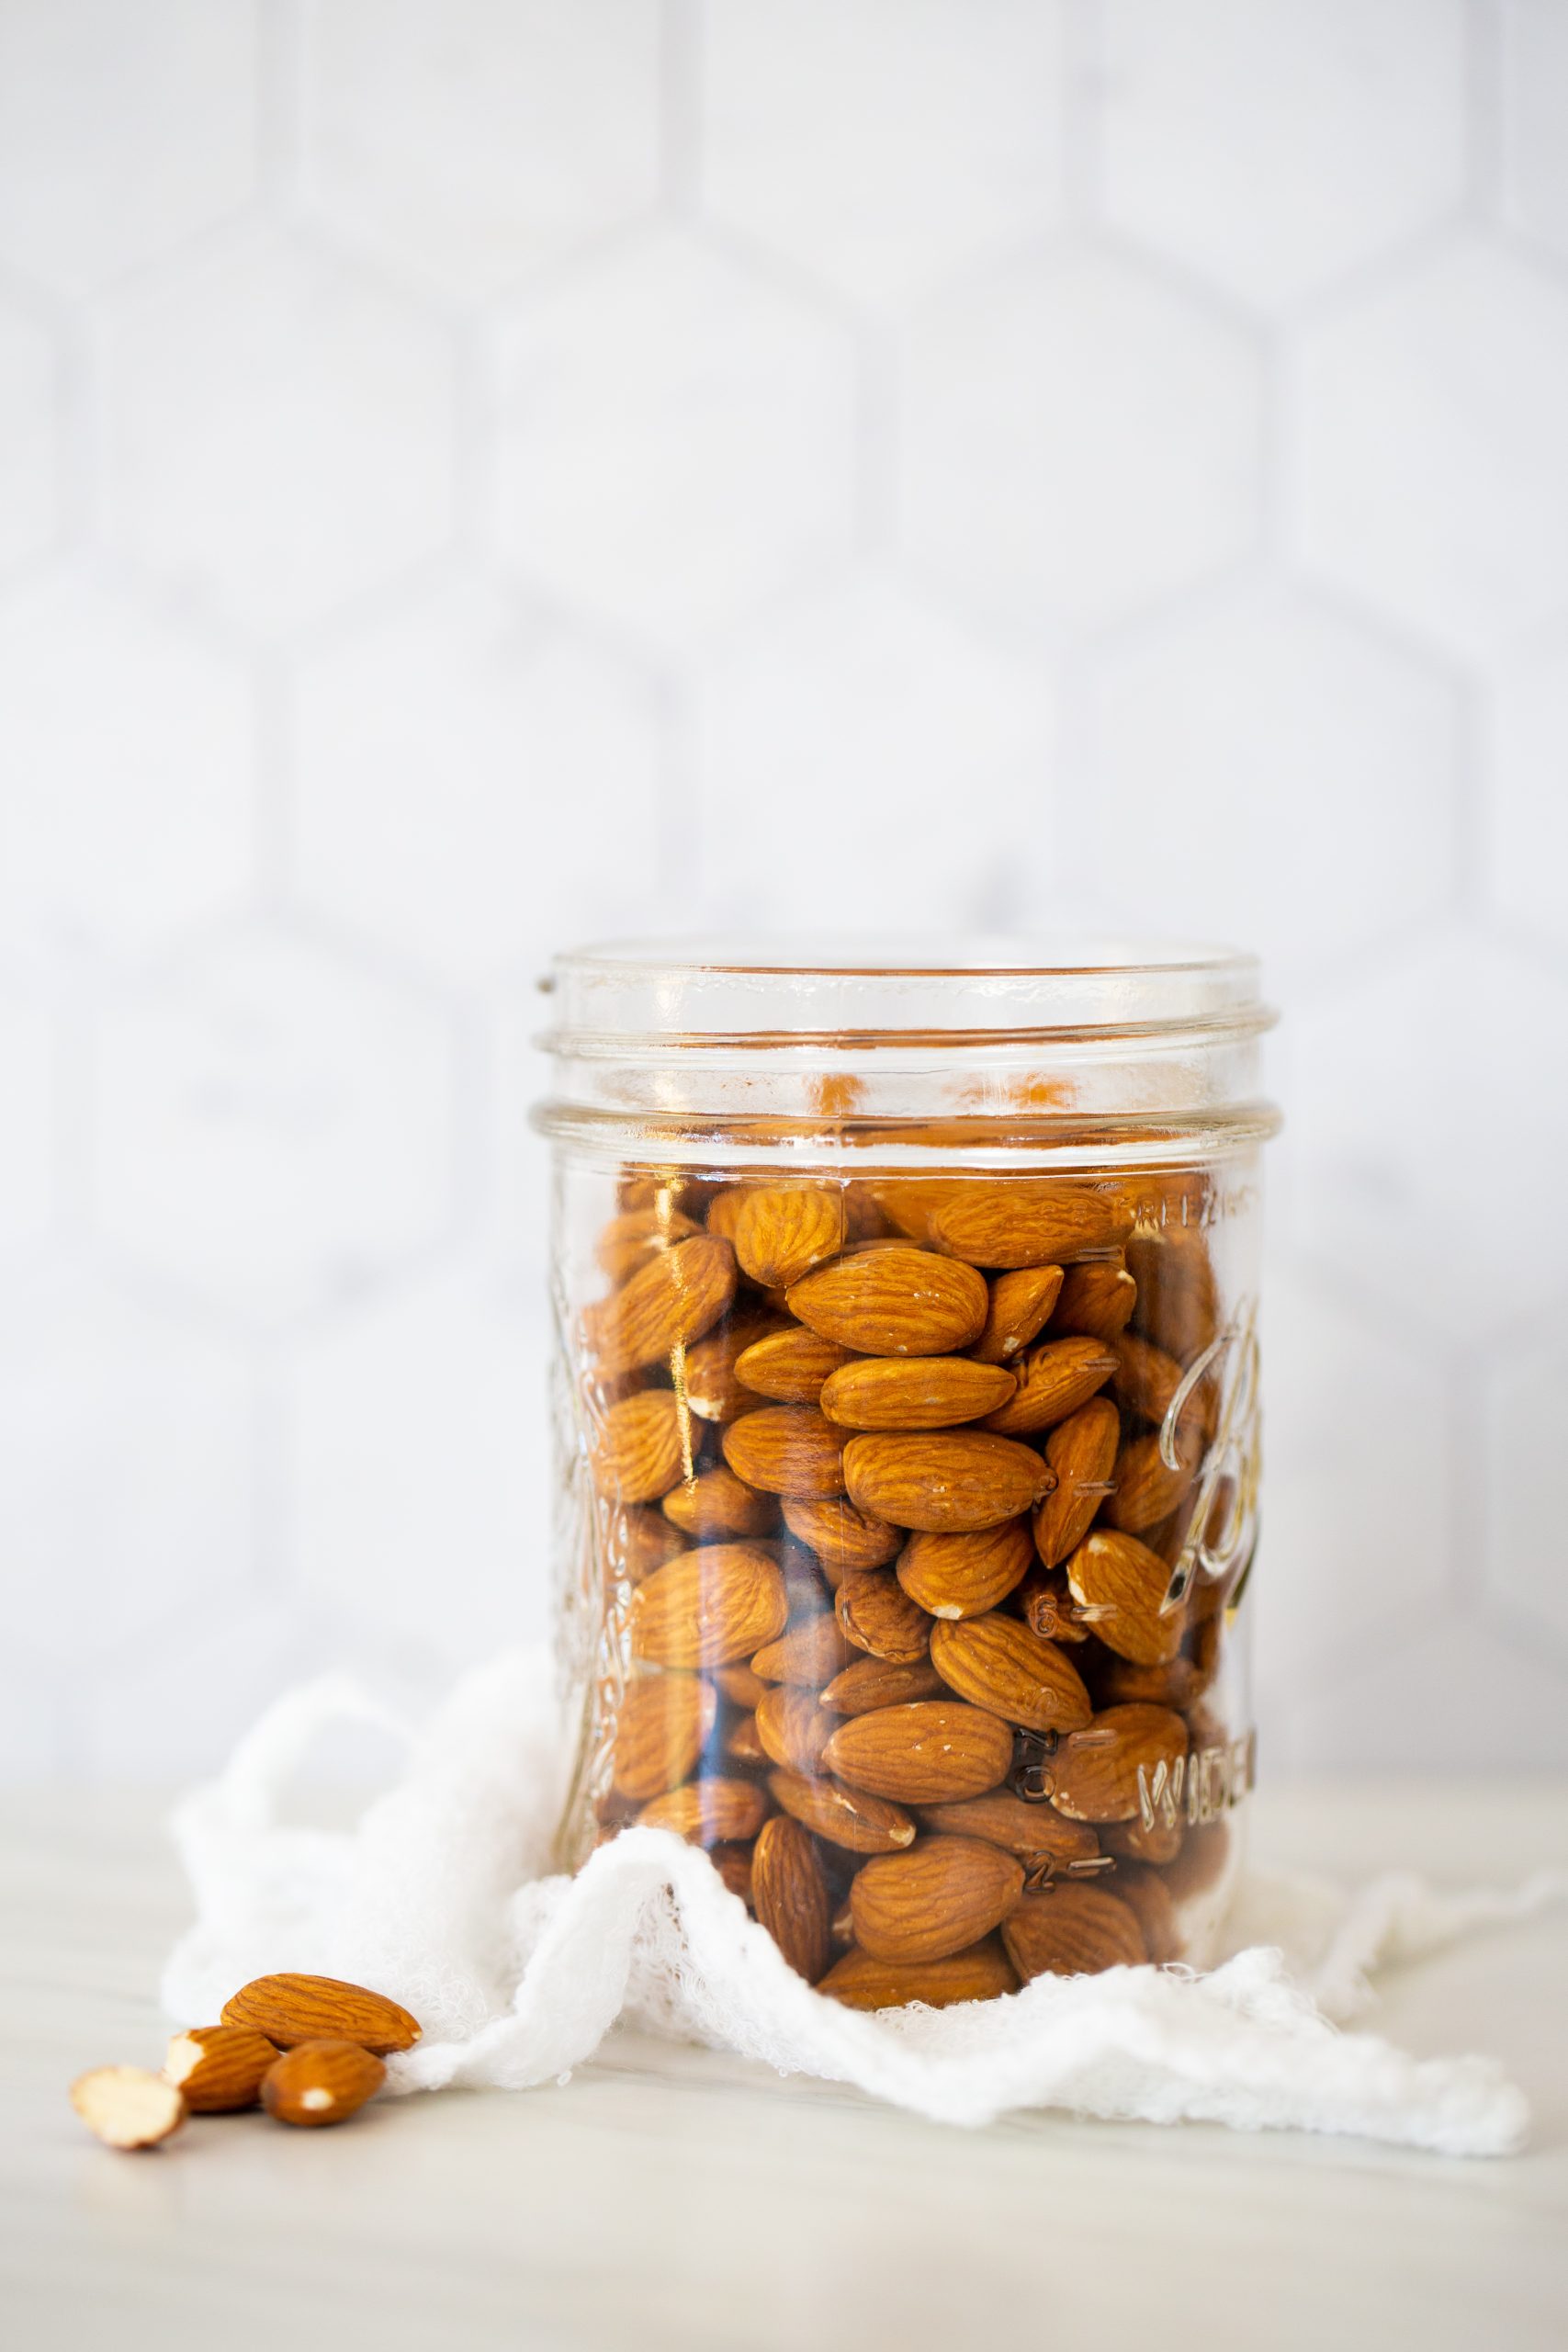
Raw Almonds: Raw almonds are the star of the show when it comes to making almond milk. They provide a creamy, nutty flavor and are naturally rich in healthy fats, vitamins, minerals, and proteins.
Water: Filtered or purified water is recommended for the best-tasting almond milk.
A Blender: A high-speed blender is the best tool for making almond milk. It will help break down the almonds and blend them into a smooth, creamy milk.
Cheesecloth or Nut Milk Bag: This will be used for straining the almond milk so that it’s free of any solids or chunks.
Optional Sweetener: If you like your almond milk sweet, you can add a few teaspoons of your favorite sweetener, such as maple syrup, agave nectar, or honey.
Storage Containers: Glass jars or bottles are the best for storing your homemade almond milk.
How to make homemade almond milk
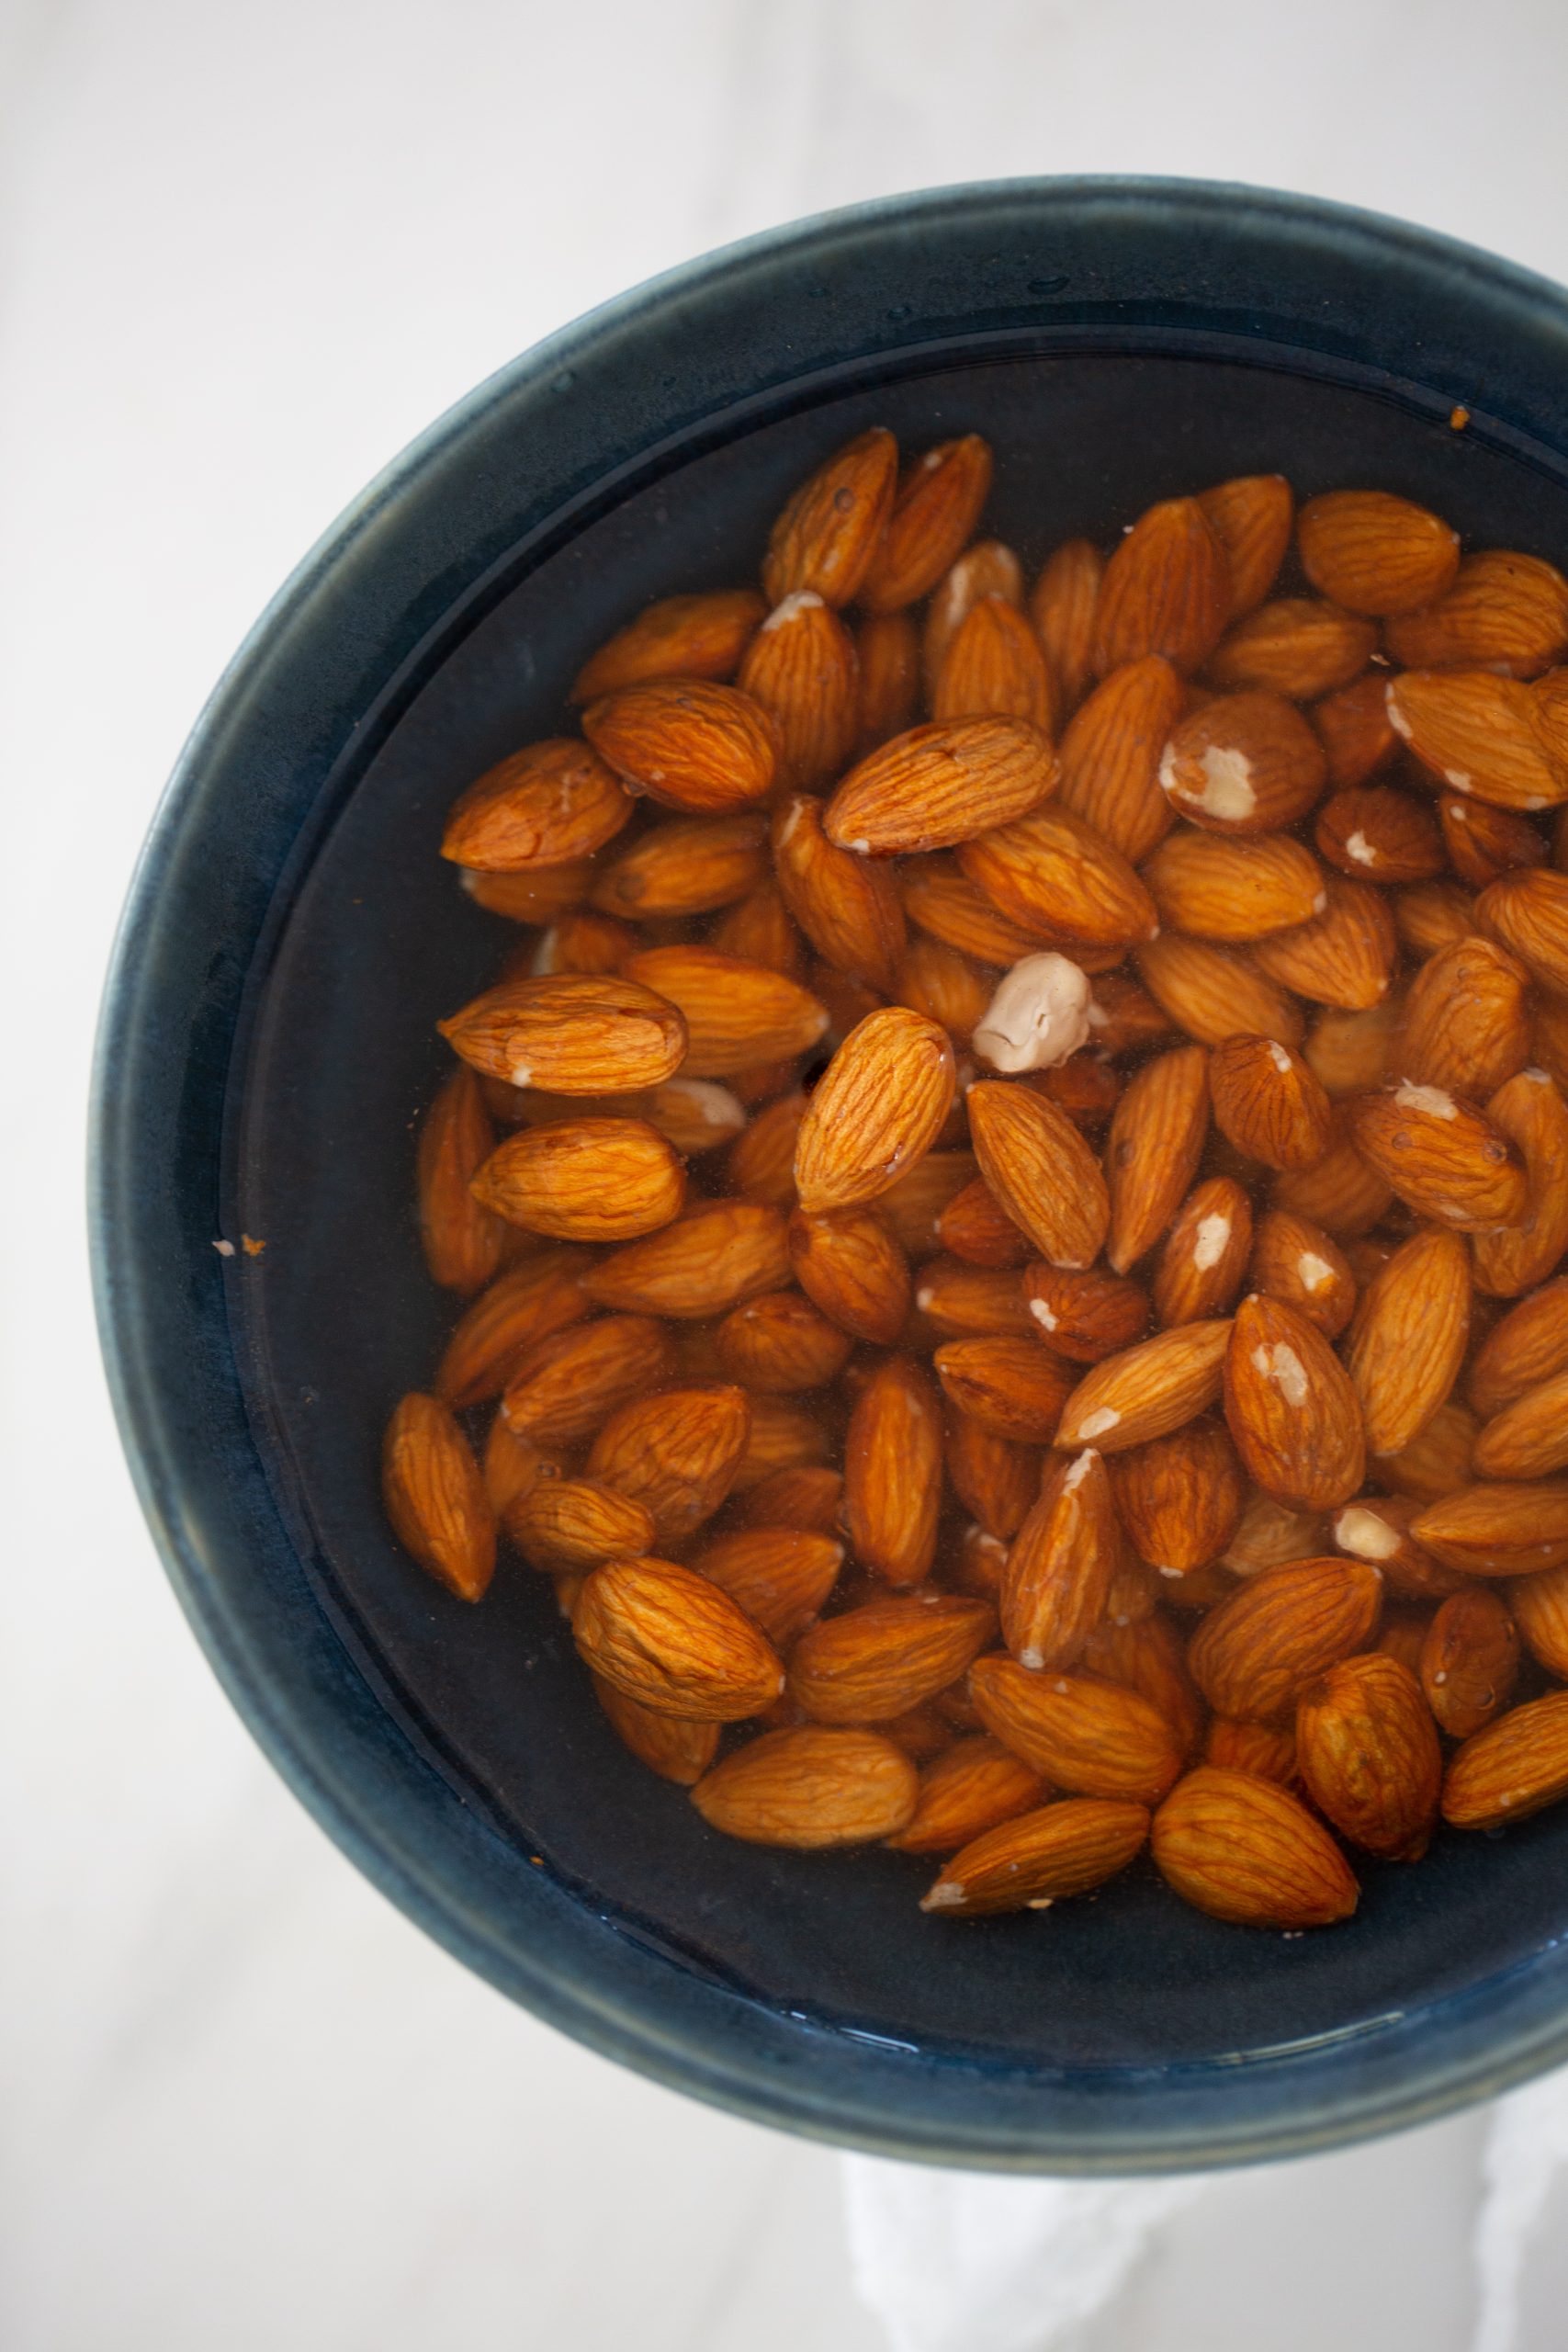
First step. Soak one cup of almonds in water overnight or for 4 hours at least. I soak them in a jar or bowl. Cover them with a kitchen towel.
Soaking the almonds helps soften them, making them easier to blend and resulting in a smoother almond milk. When soaking the almonds, be sure to use enough water to cover them completely.
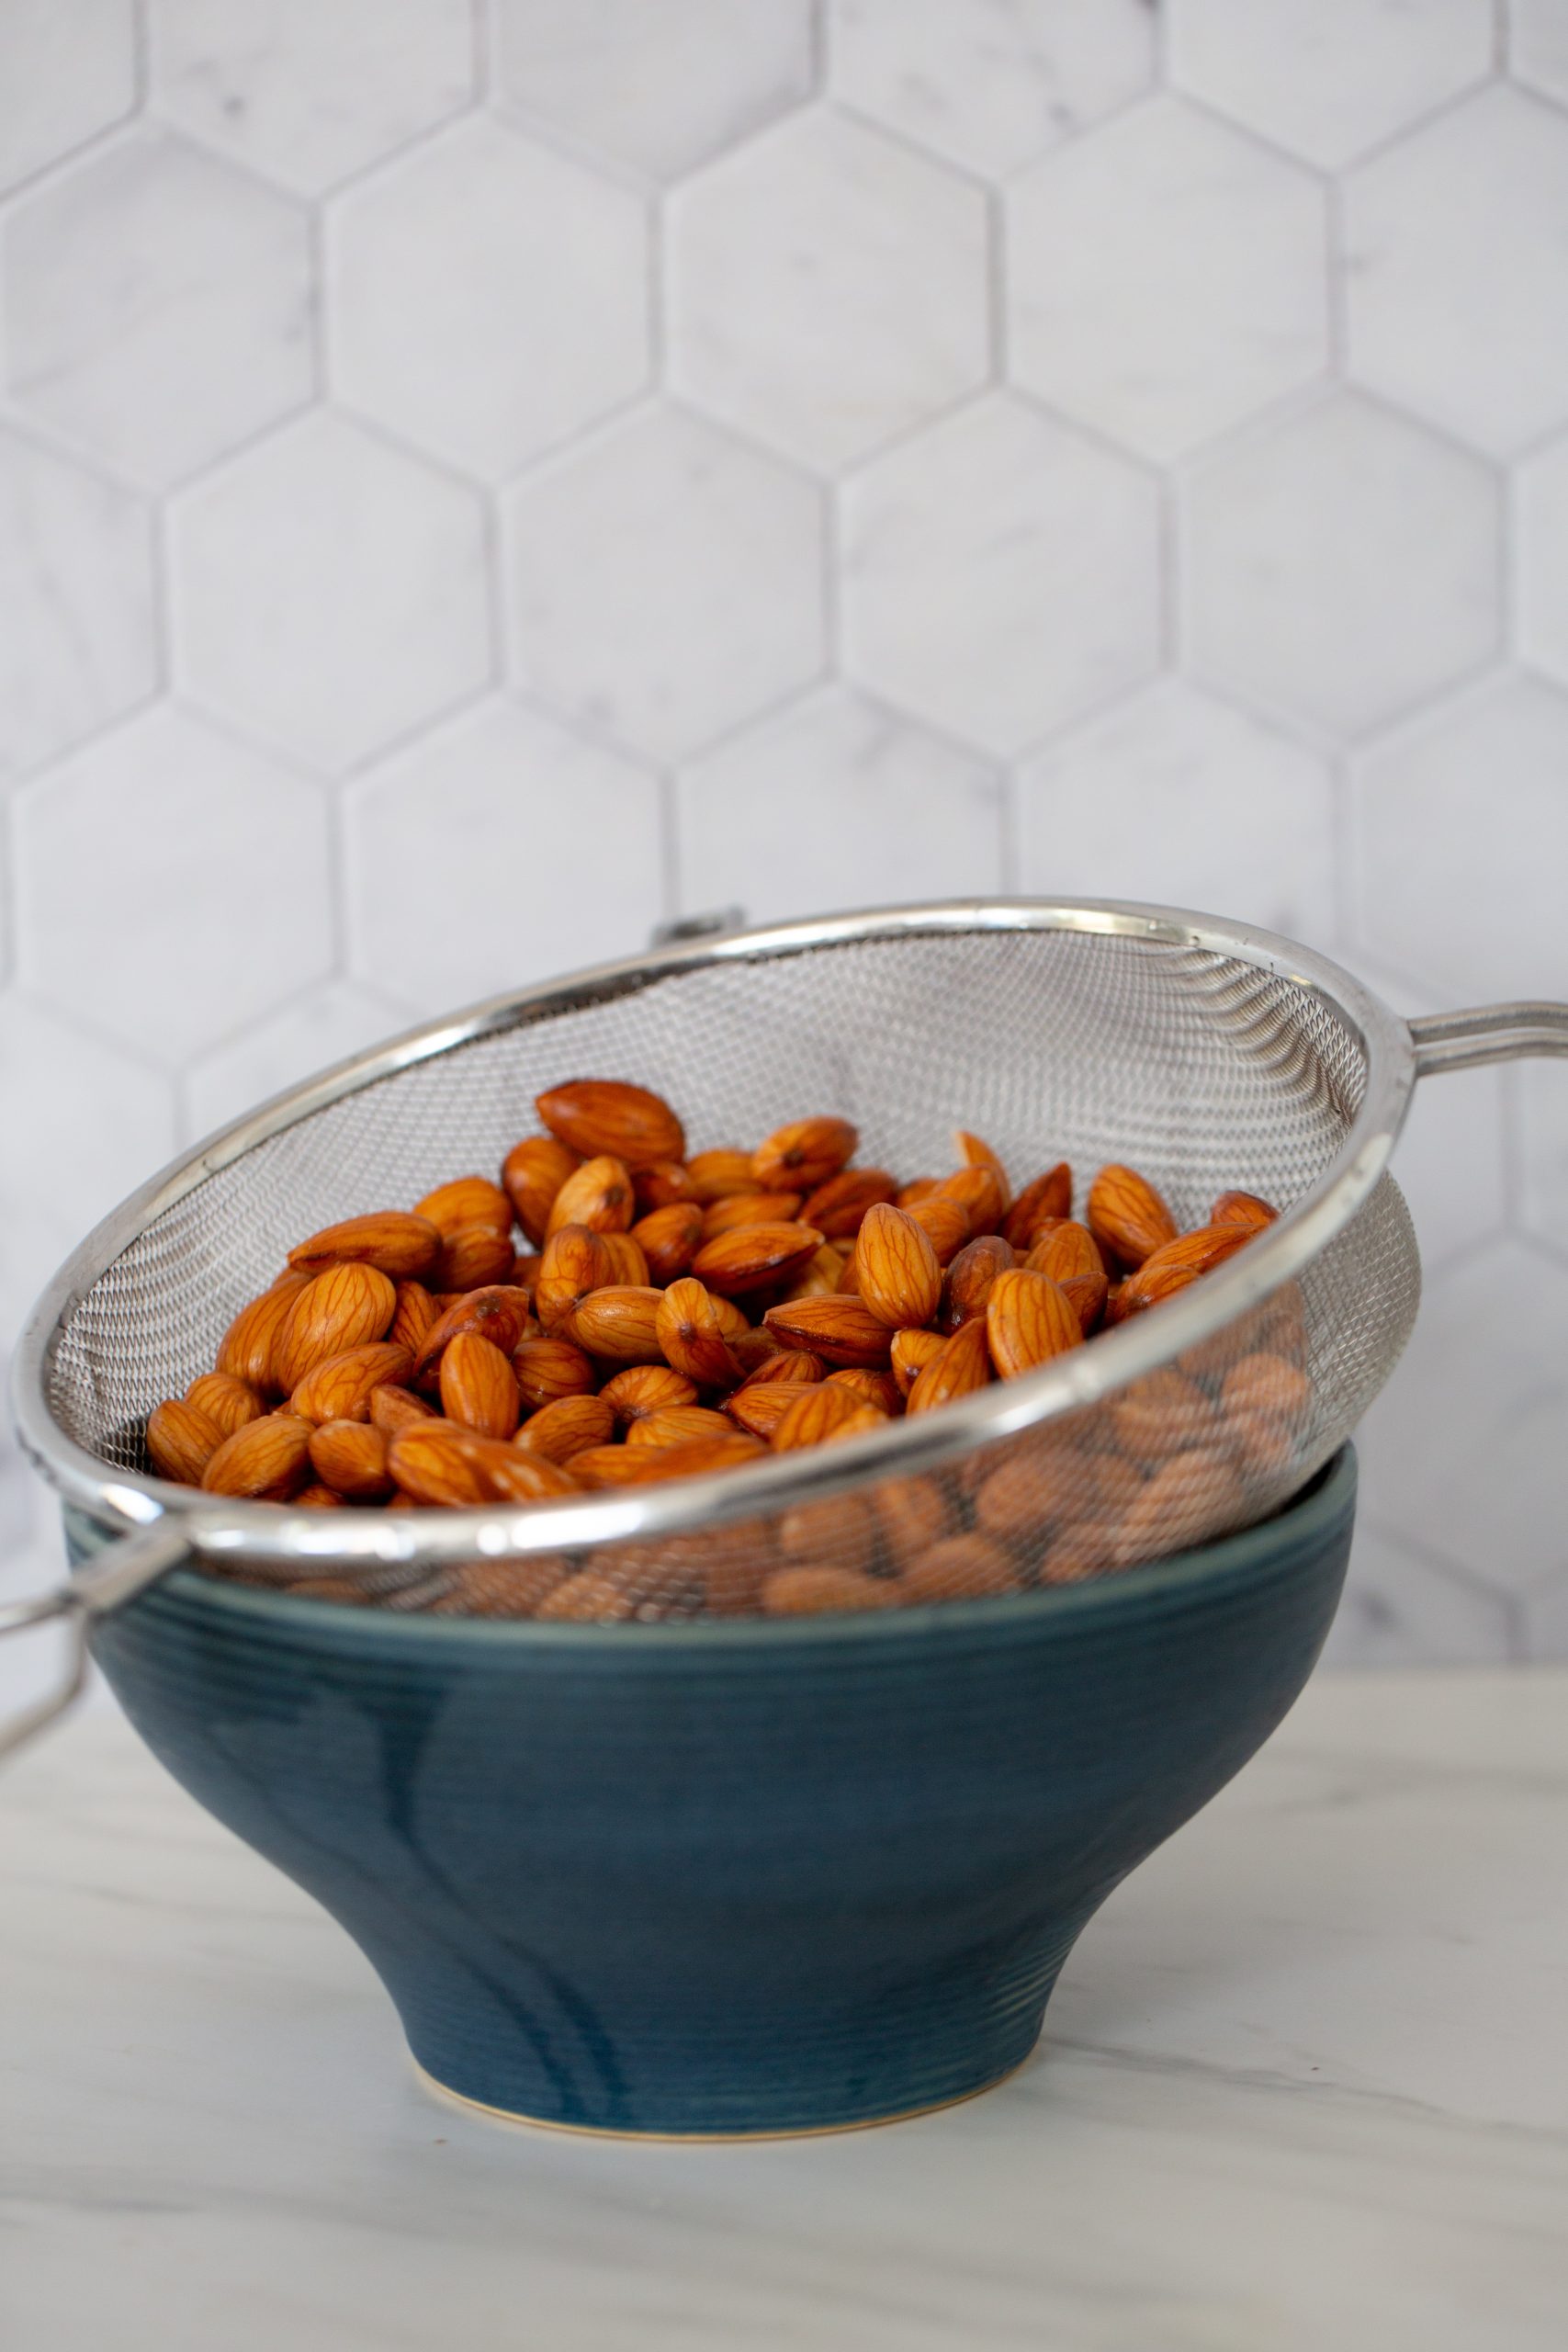
It is also important to soak the almonds for at least 4 hours or overnight. This will ensure the phytase enzymes have time to break down the phytic acid. Once the almonds have been soaked, it is important to discard the soaking water and rinse the almonds thoroughly.

Step two is to blend the soaked almonds with three cups of fresh water, the sweetener of your choice, and a pinch of sea salt. Throw away the water where you soaked the almonds, give them a quick rinse, and put them in the blender.
To make the almond milk smooth and creamy blend until it reaches the desired consistency. If your milk is too thick, you can add a bit of water to thin it out.
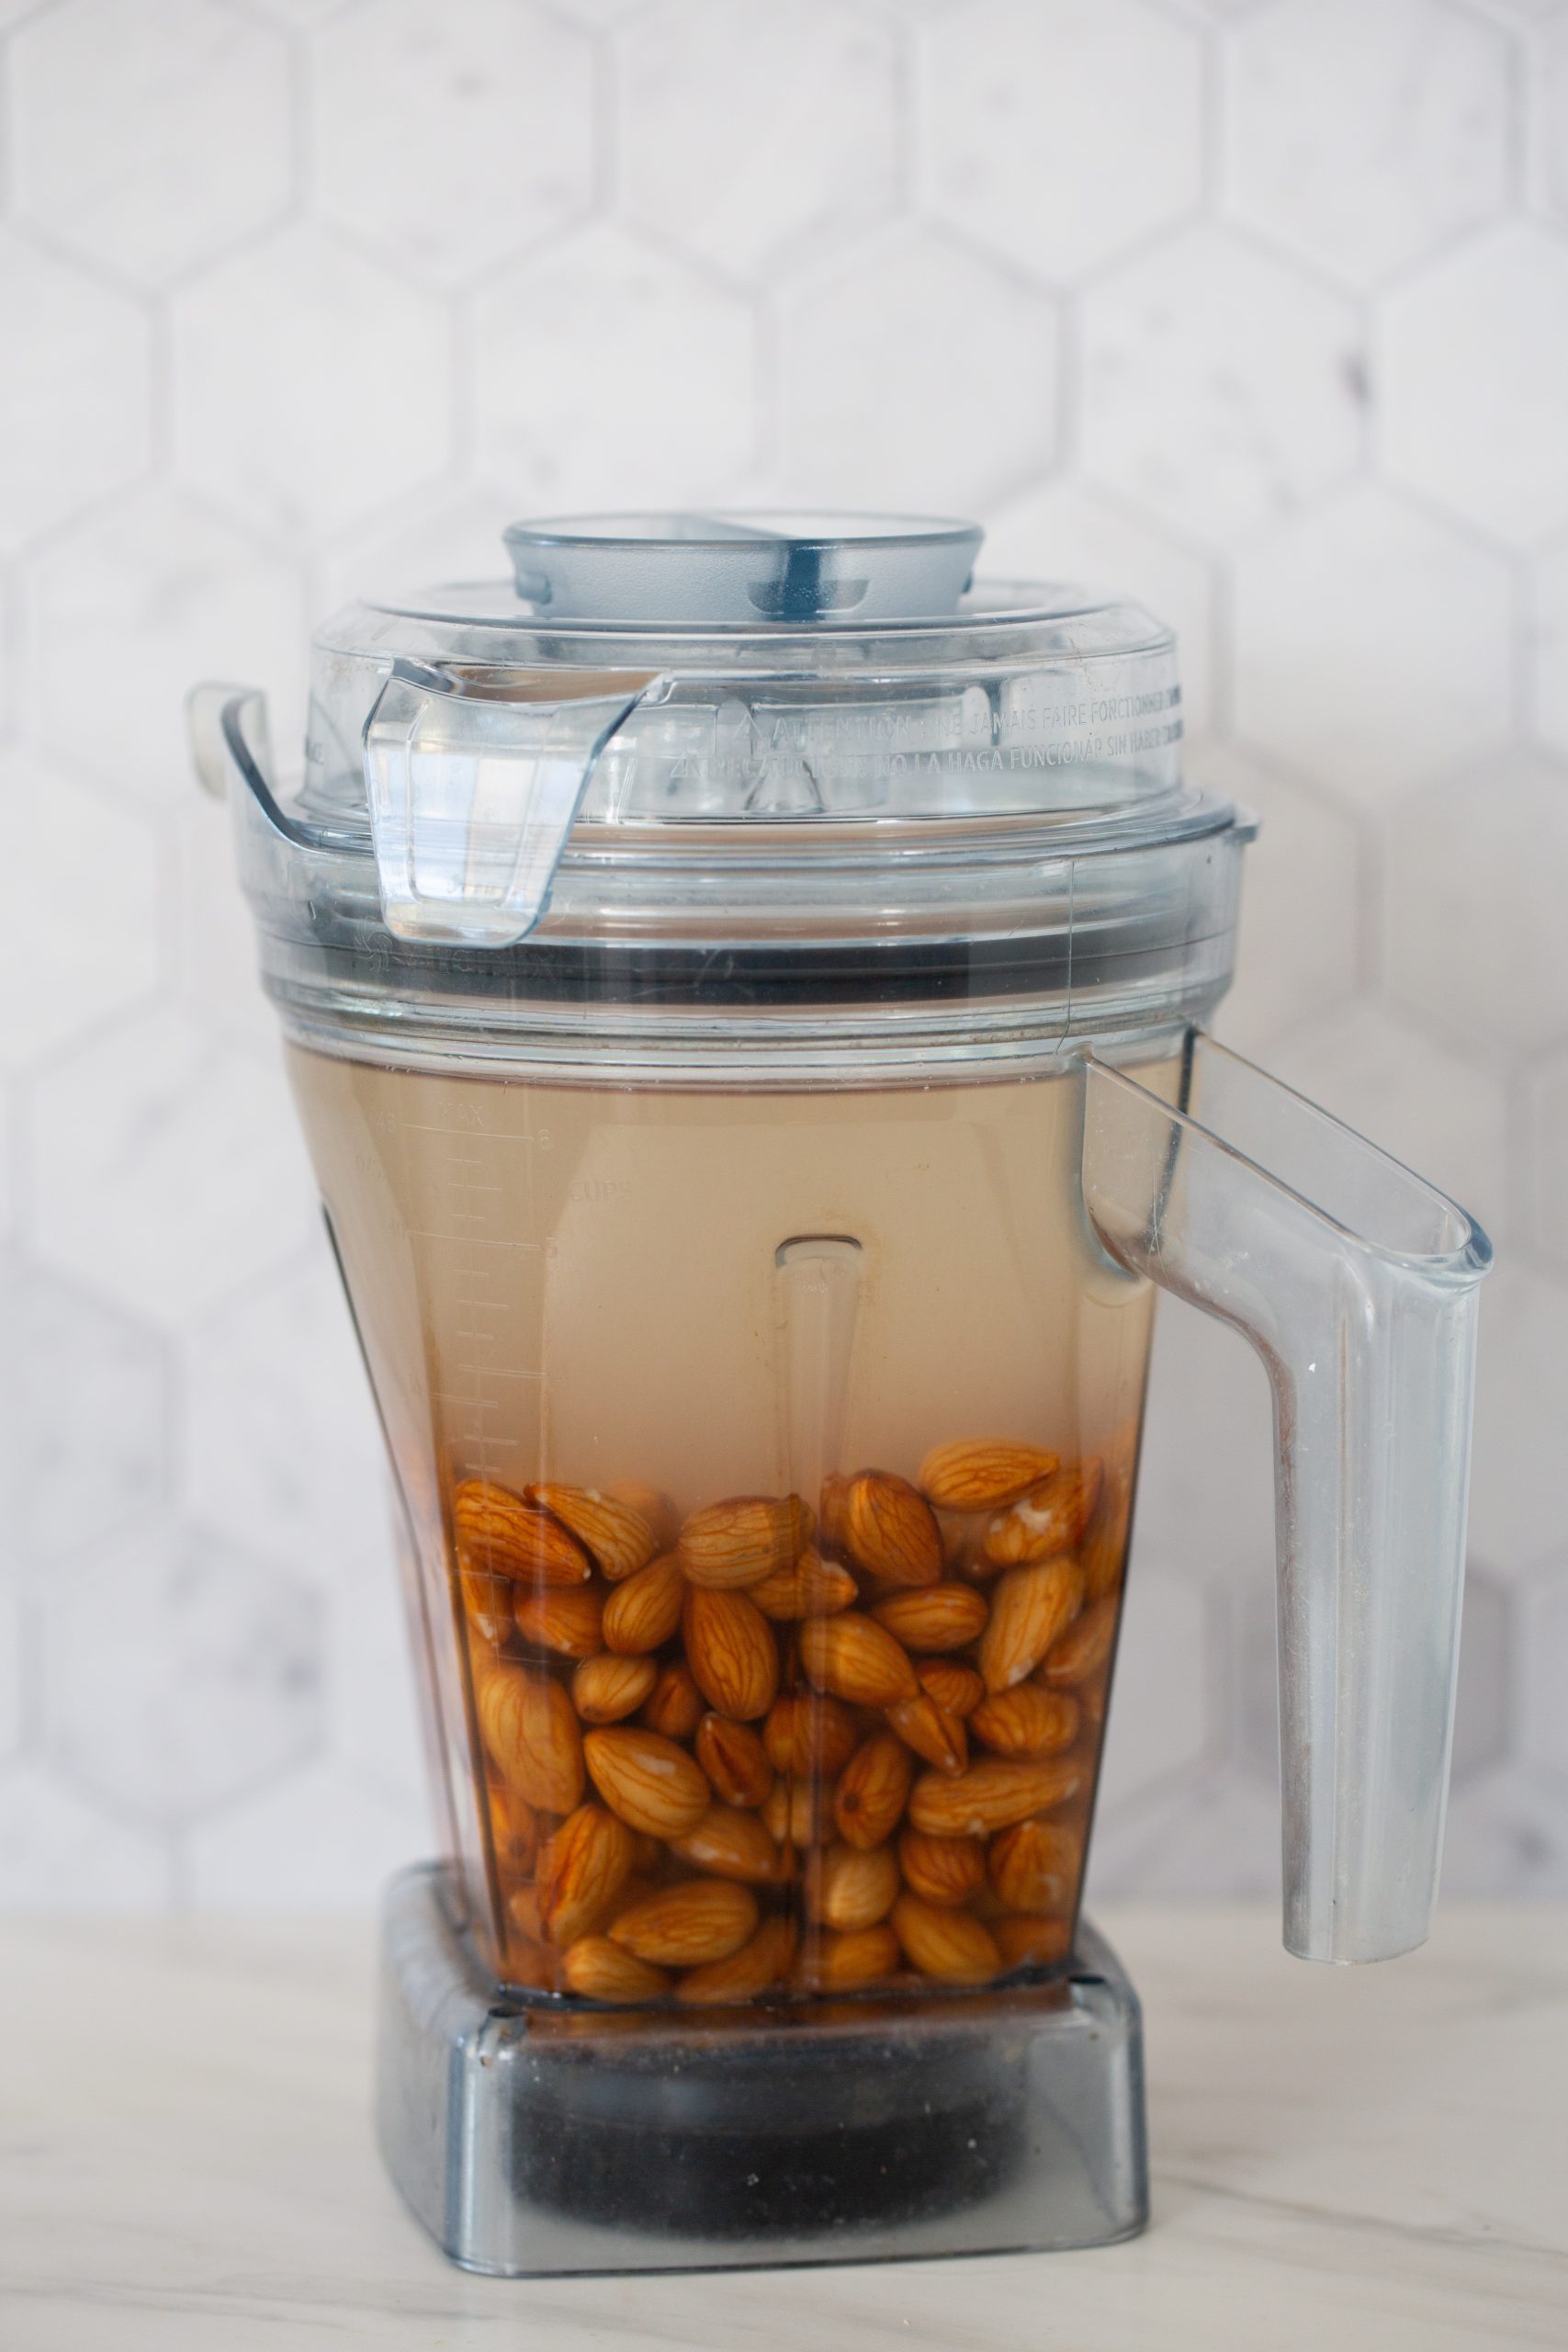
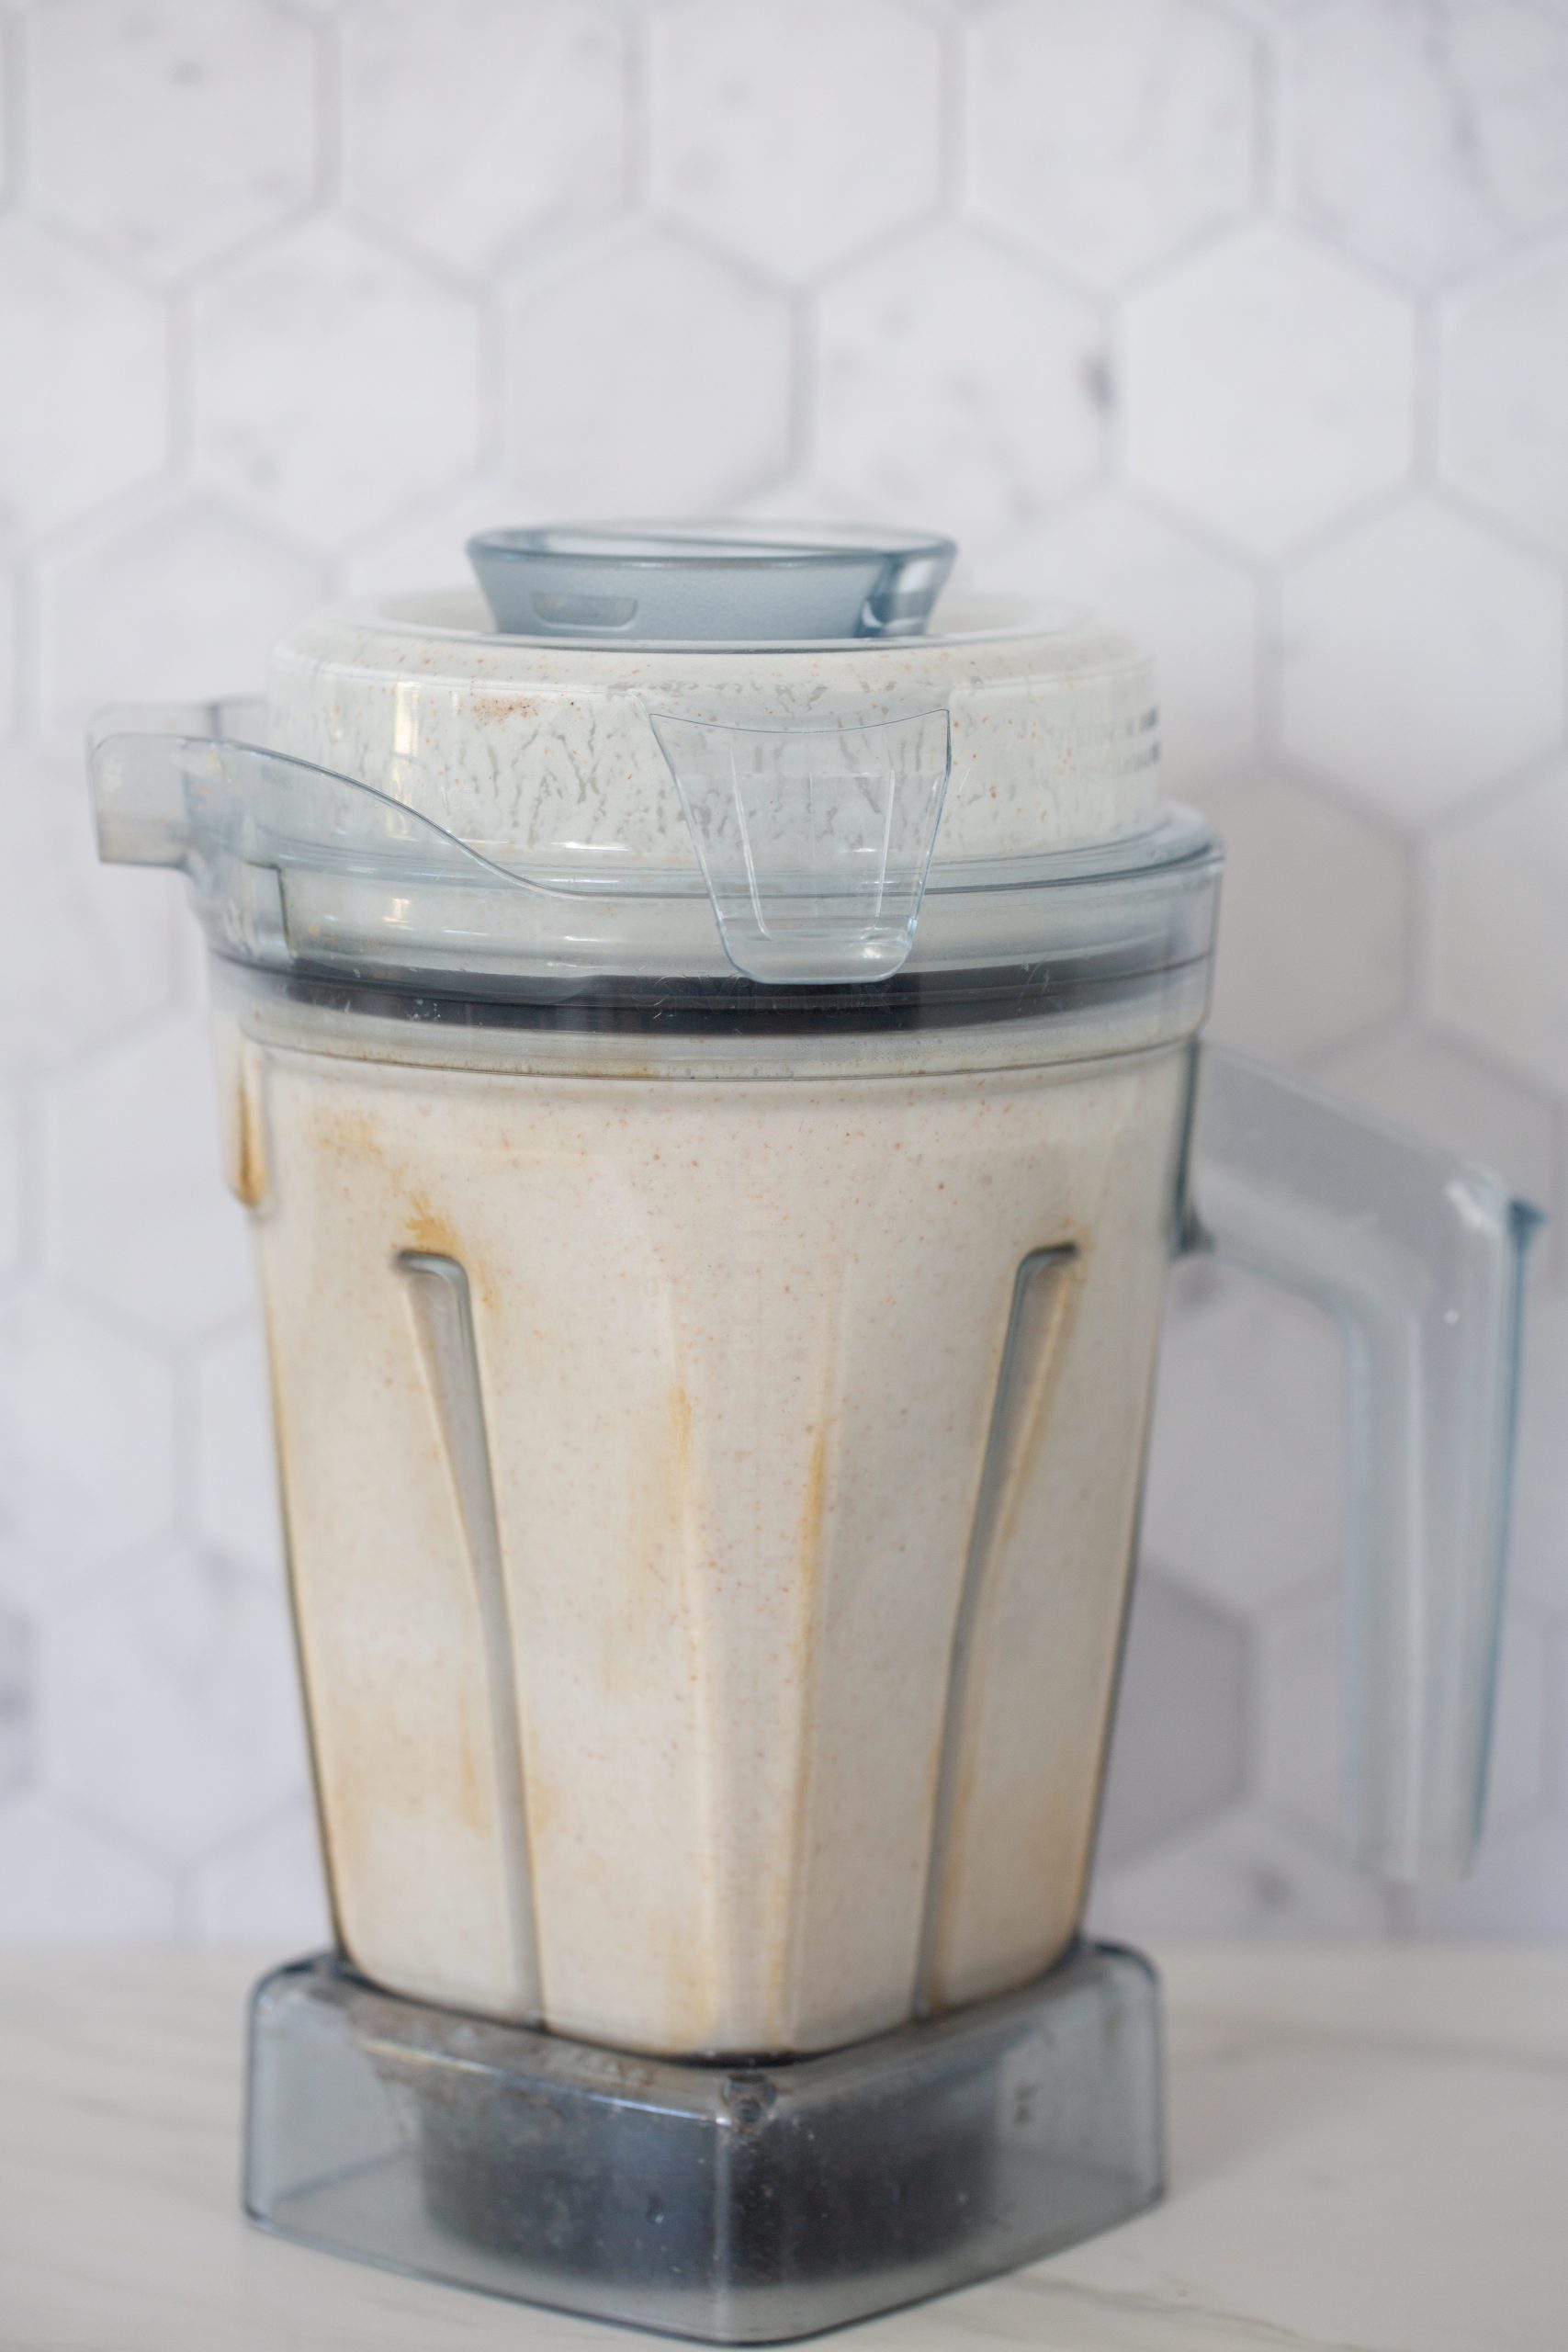
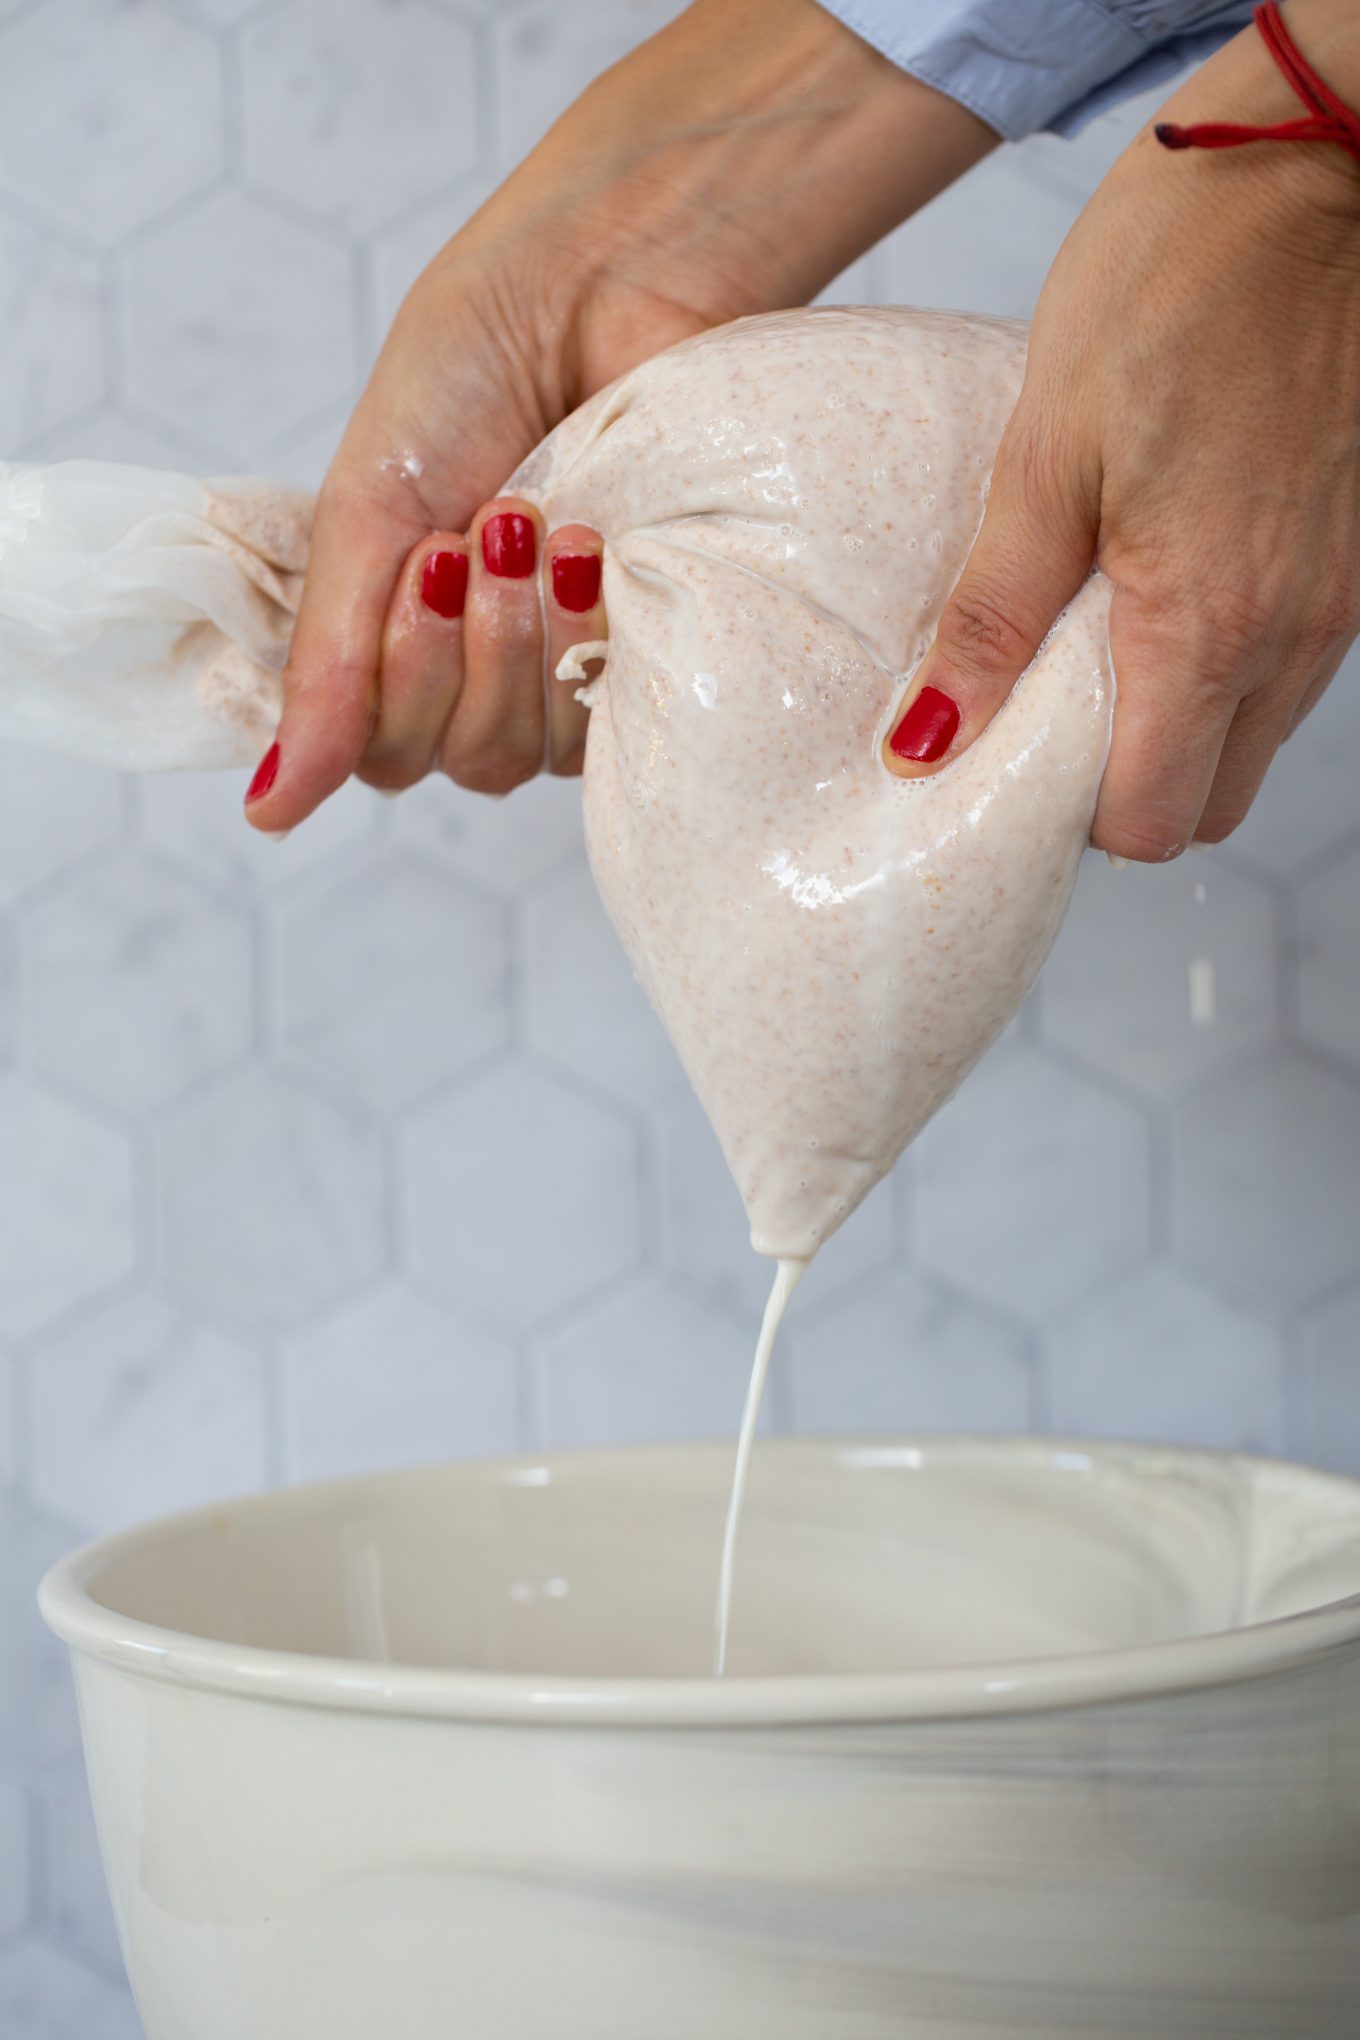
Step three is to strain the mixture through a nut milk bag. Do not panic if you do not have one; use an old t-shirt, kitchen towel, or a piece of cotton gauze.
Place the bag over a large bowl and pour the blended almonds into the bag. Use your hands to gently massage and squeeze the almonds through the bag to extract all of the liquid. When you are finished, you’ll be left with the almond pulp in the bag, and the almond milk in the bowl.
Pour the milk into a pitcher with a lid and save the pulp for further use. Do not throw away the pulp left behind when you make homemade almond milk. You can use it to make energy balls or add it with the oat while making granola.
Or, you can bake it until dry, blend it and use it in every recipe that calls for almond flour. Like these almond flour chocolate chip cookies.

tips for the best homemade almond milk
- For the best results, it is recommended to use raw almonds when making homemade almond milk. Avoid using almonds that are roasted, salted, or have any other flavorings.
- After you are done, taste the milk and adjust it to your taste while it is still in the blender. Add more liquid or sweetener, and make it super delicious so you can add it everywhere.
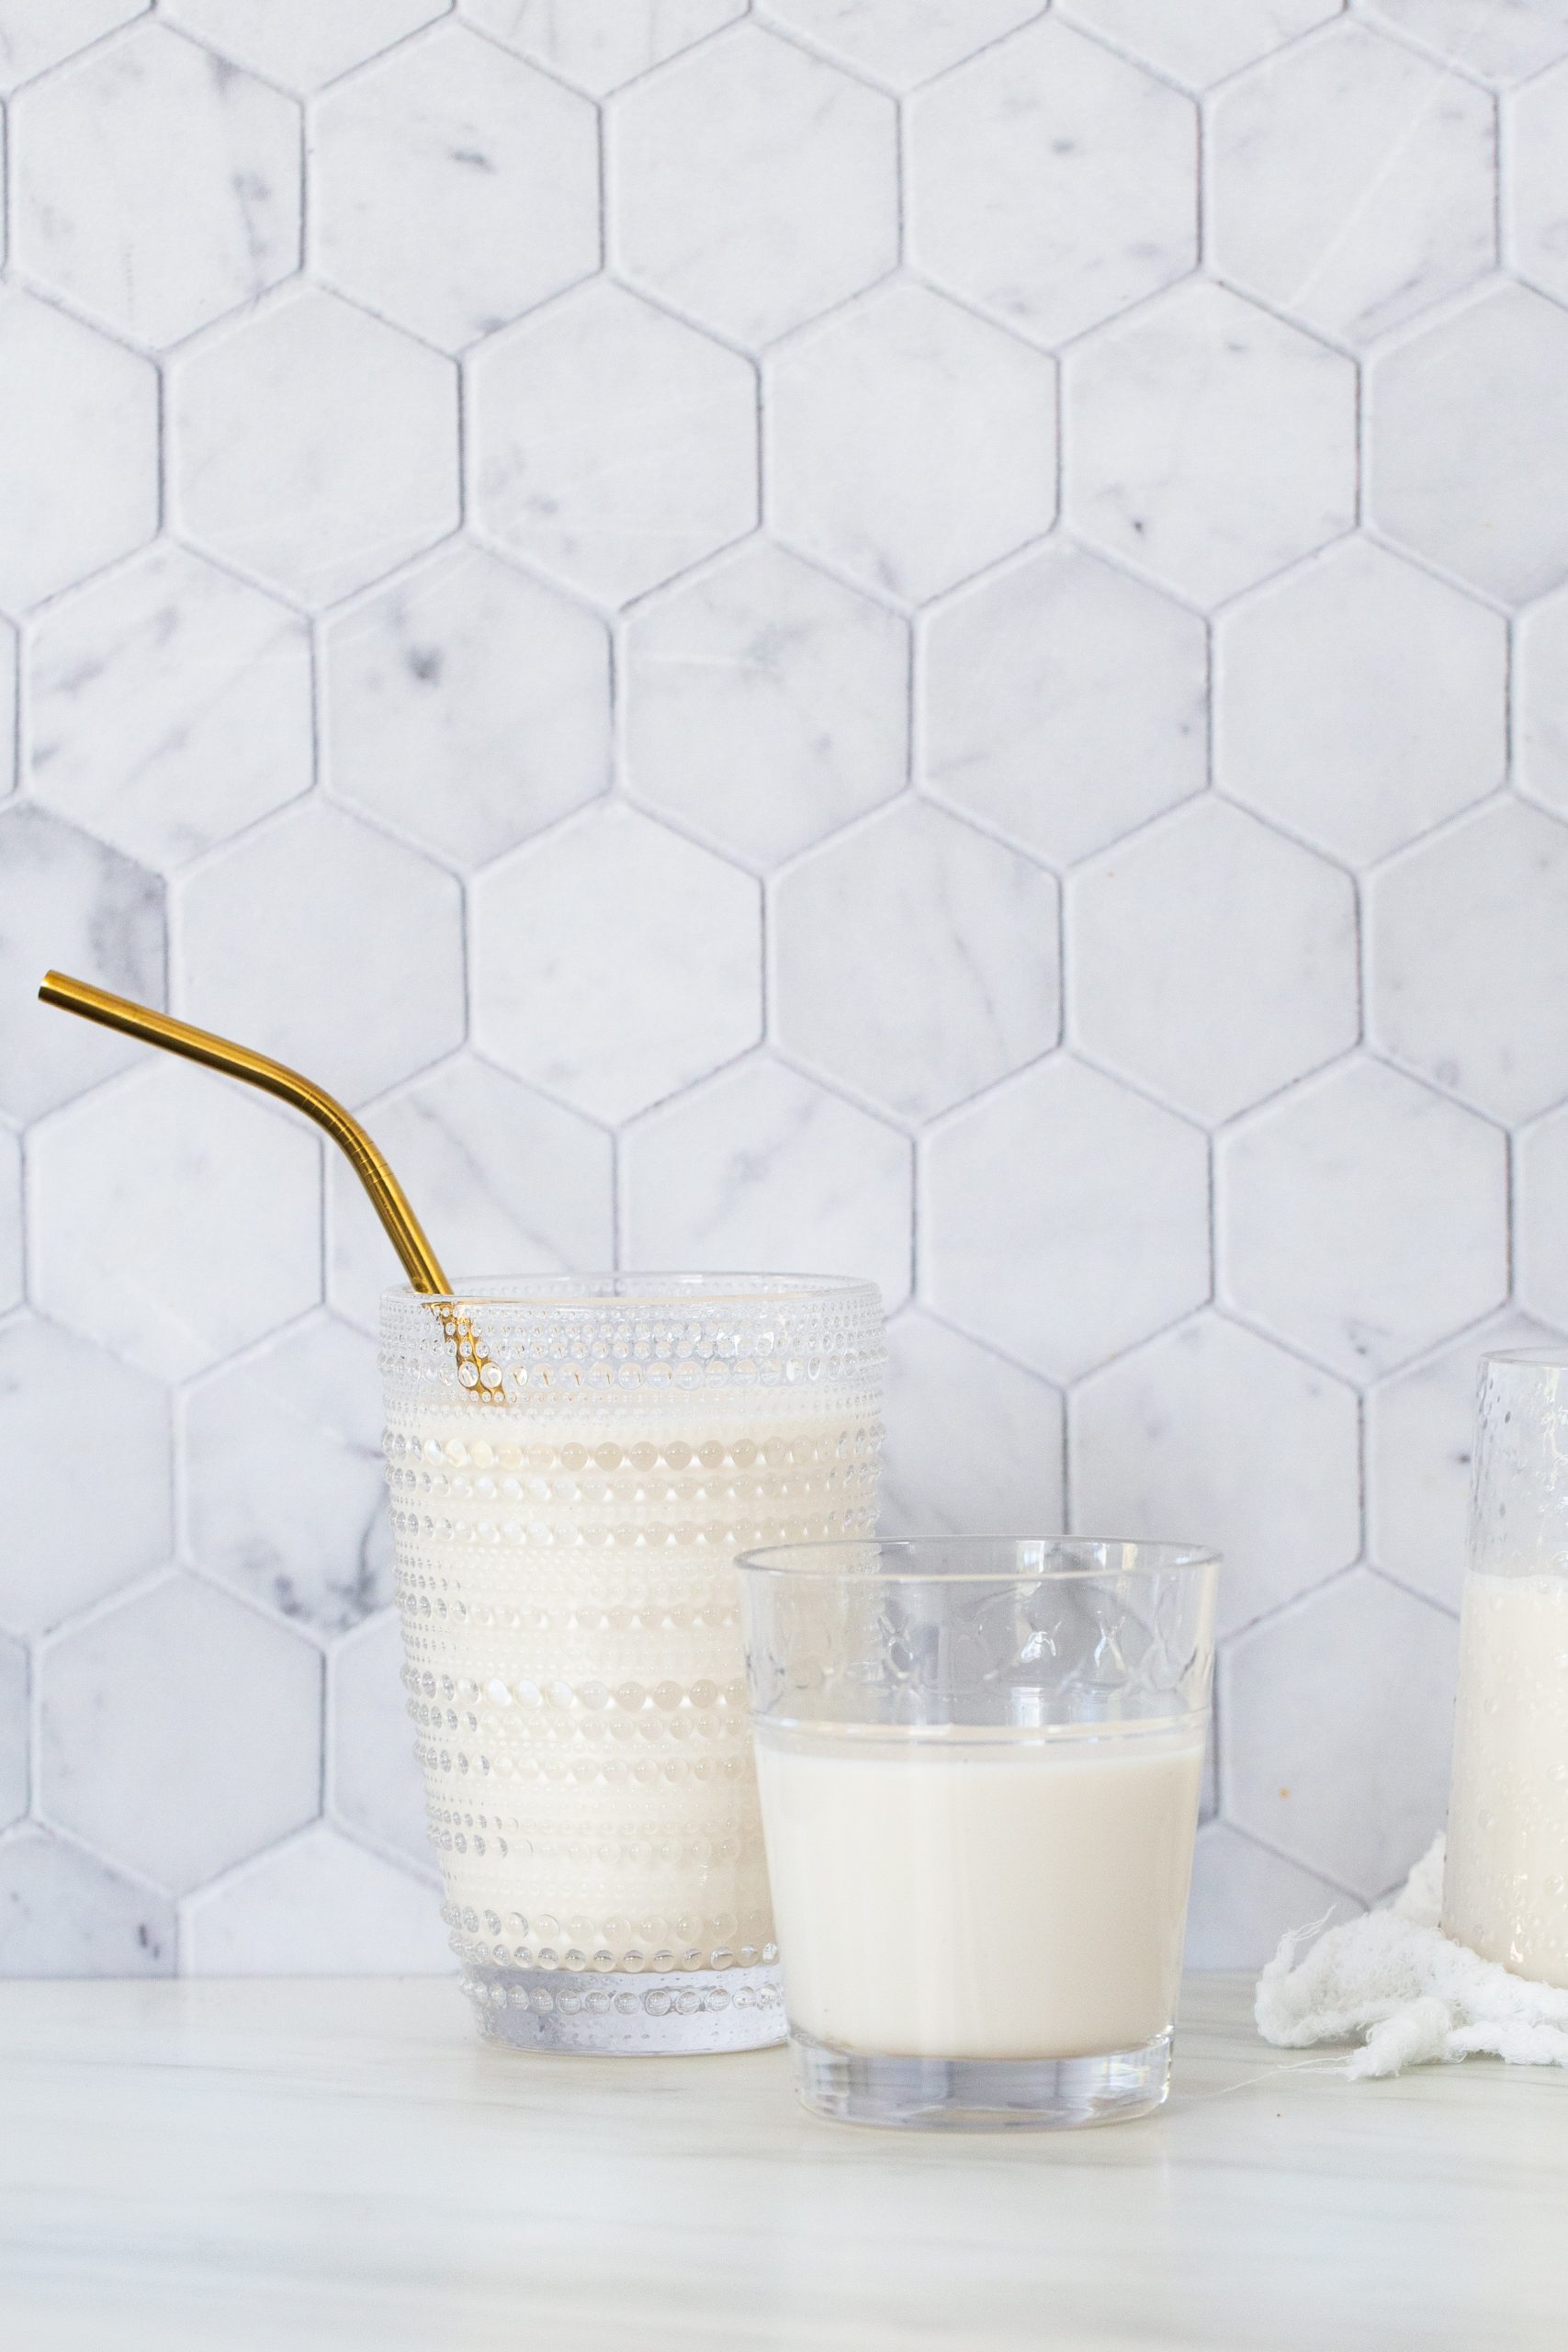
- You can use this homemade almond milk exactly the same as you use other vegan beverages. You can cook with it or use it in your cereal, coffee, etc.
- If you plan on using your almond milk in savory dishes, do not add the sweetener; just a pinch of salt.

When storing almond milk, always remember to store it in an airtight container, place it in the coldest part of the refrigerator, and use it within five days for peak freshness.
Flavoring PLANT-BASED milk
There are many different ingredients you can use to add flavor to almond milk. Start with the basics: vanilla extract, cinnamon, cardamom, and nutmeg.
If you’re looking for something a bit more exotic, try adding some chopped fresh ginger, turmeric, a teaspoon of golden spice mix or even a pinch of saffron threads. I
f you’re looking for something sweet, you can add some maple syrup, agave nectar, honey, or dates. Other sweetners are Coconut sugar, monk fruit, stevia, and erythritol are all healthy options.
If you prefer naturally-flavored add some fresh strawberries, blueberries, or other seasonal fruit to your homemade almond milk.
Why make your own almond milk?
Making homemade almond milk from scratch is a great way to enjoy creamy and delicious almond milk free from additives and preservatives. It is also an easy way to control the sweetness and thickness of the milk. You can adjust the sweetness by adding dates.
These recipes go amazingly well with a glass of cold almond milk: pancakes, vegan chocolate pancakes, chocolate zucchini muffins, and the best vegan chocolate chip ever.
Frequently asked questions
Homemade almond milk
Equipment
- Nut milk bag
Ingredients
- 1 cup almonds soaked overnight
- 3 cups water
- 3 dates *if using
- pinch of salt
Instructions
- Drain the almonds, rinse and put them in the blender.
- Add three cups of fersh water, dates, pinch of salt and blend. Start with a low speed and go up gradually. Let the blender run for a while.
- Empty milk to a bowl covered with a piece of cloth or milk bag to strain the milk, squeeze the pulp well, squeezing as much liquid as possible.
- Store the milk in a glass container with a lid in the fridge. Use it like any other milk.
Notes
Nutrition
information
Nutritional information of this recipe is only an estimate, the accuracy for any recipe on this site is not guaranteed.
