About This Recipe
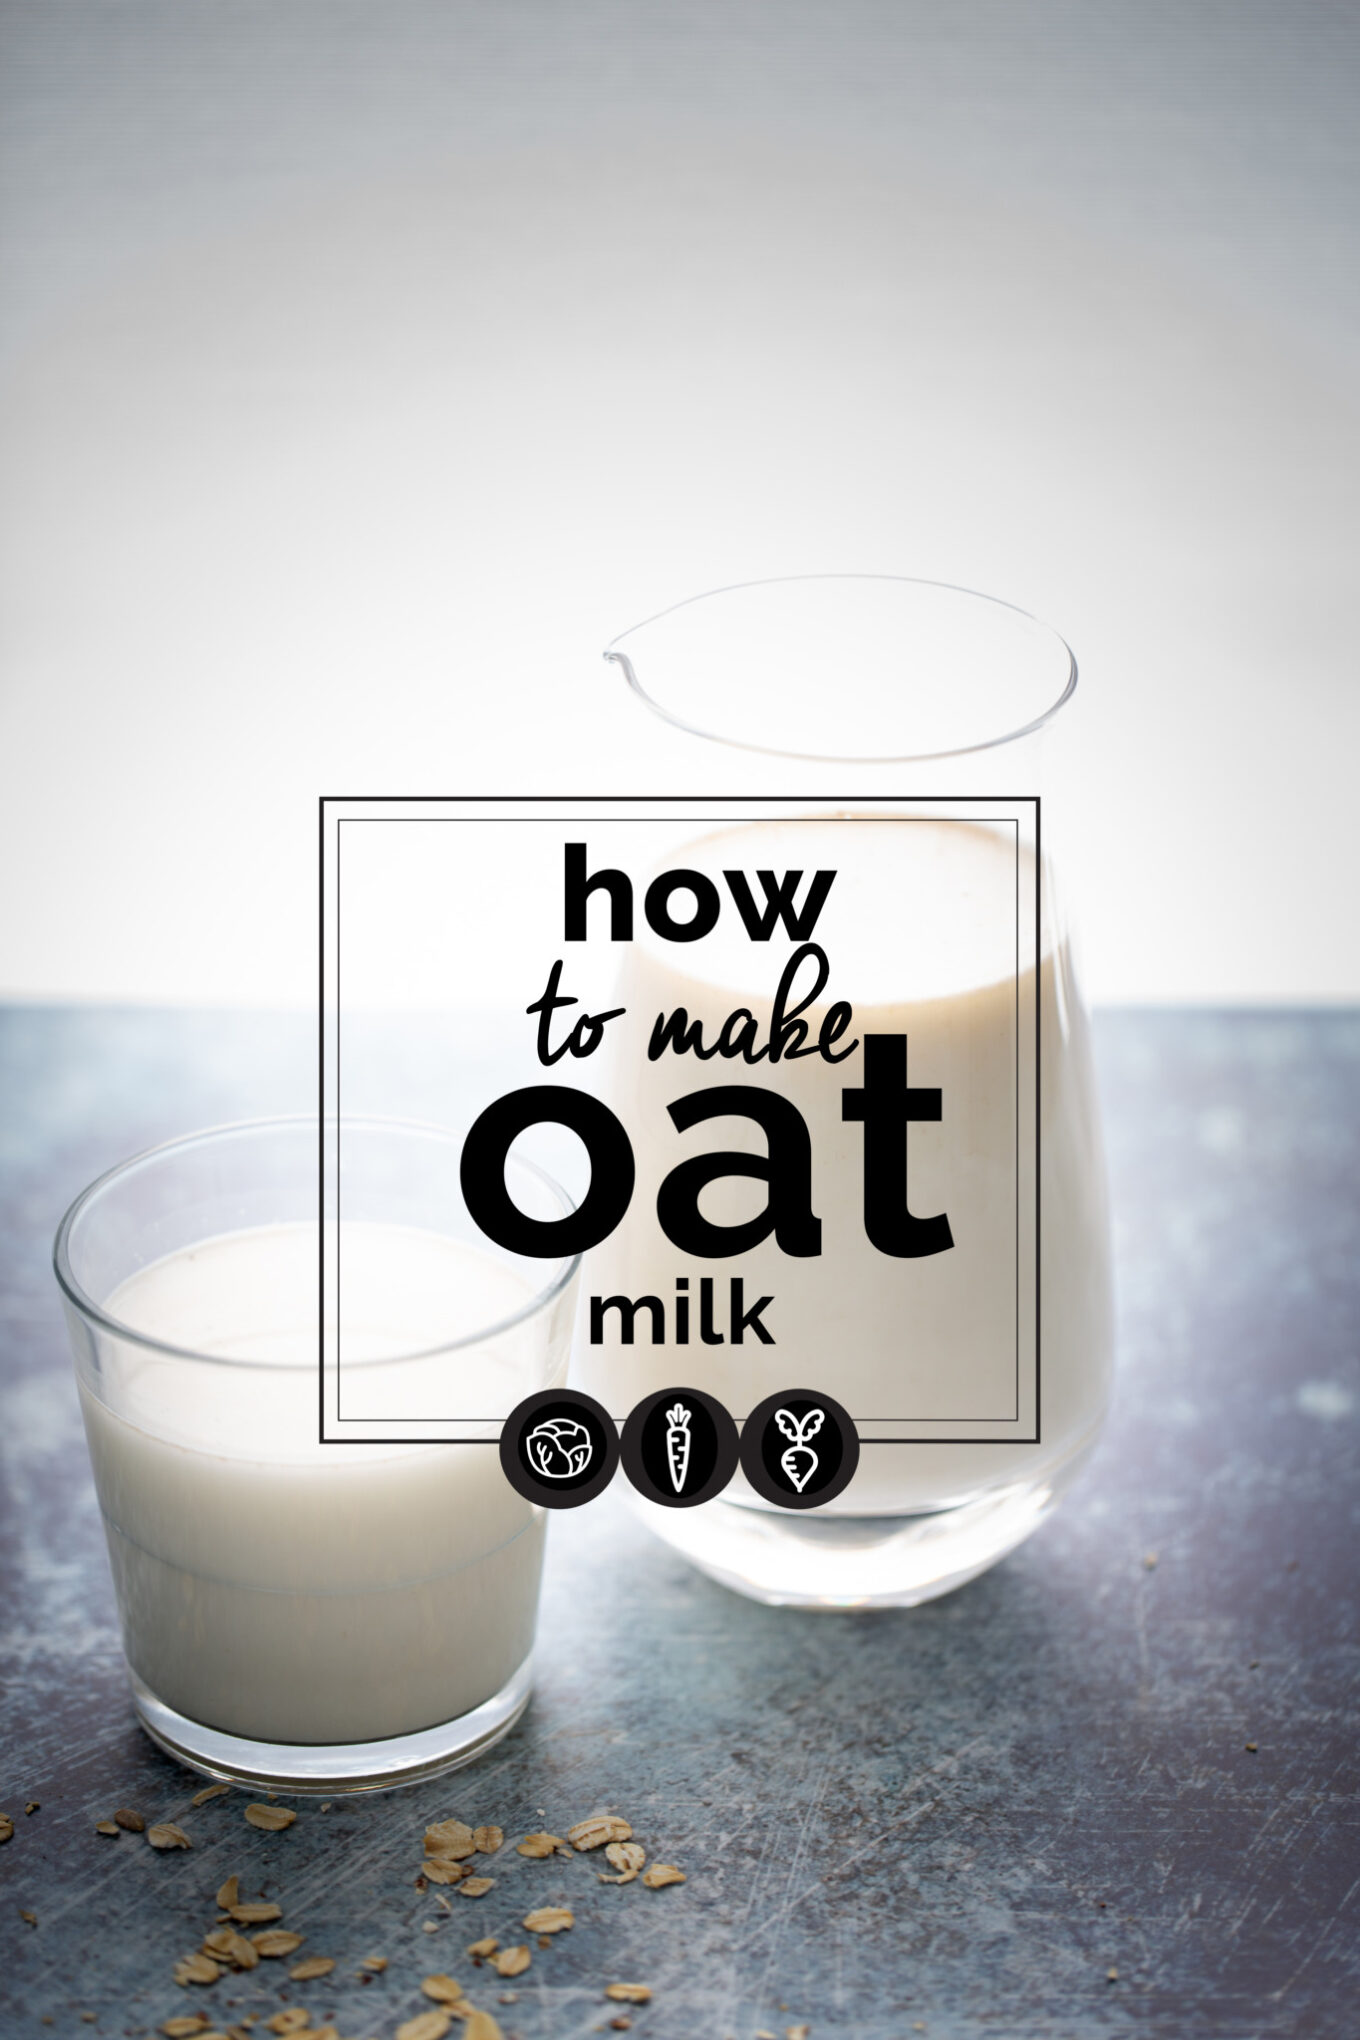
Oat milk is simply rolled oats and water blended together and strained — that’s it. The result is a creamy, naturally sweet dairy-free milk that’s perfect for coffee, smoothies, cereal, baking, and so much more.
Making homemade oat milk takes just 5 minutes and 2 ingredients. No soaking required. Compared to almond milk and cashew milk, oat milk is cheaper, requires no soaking, and has a richer, creamier texture. It’s also naturally high in fiber and calcium.
And unlike store-bought brands, homemade oat milk has no oils, gums, thickeners, or preservatives — just oats and water. Once you try making it at home, you’ll never go back.
Why You’ll Love This Homemade Oat Milk
- Only 2 ingredients. Rolled oats and water — that’s it.
- Ready in 5 minutes. Blend, strain, done. No soaking required.
- Incredibly creamy. Smoother and richer than most store-bought plant milks.
- Cheaper than store-bought. A batch costs a fraction of what you’d pay at the store — with zero additives.
- Versatile. Use it in coffee, matcha, smoothies, cereal, granola, baking — everywhere.
- Naturally dairy-free and vegan. No oils, gums, or preservatives like commercial brands.
Ingredient Notes
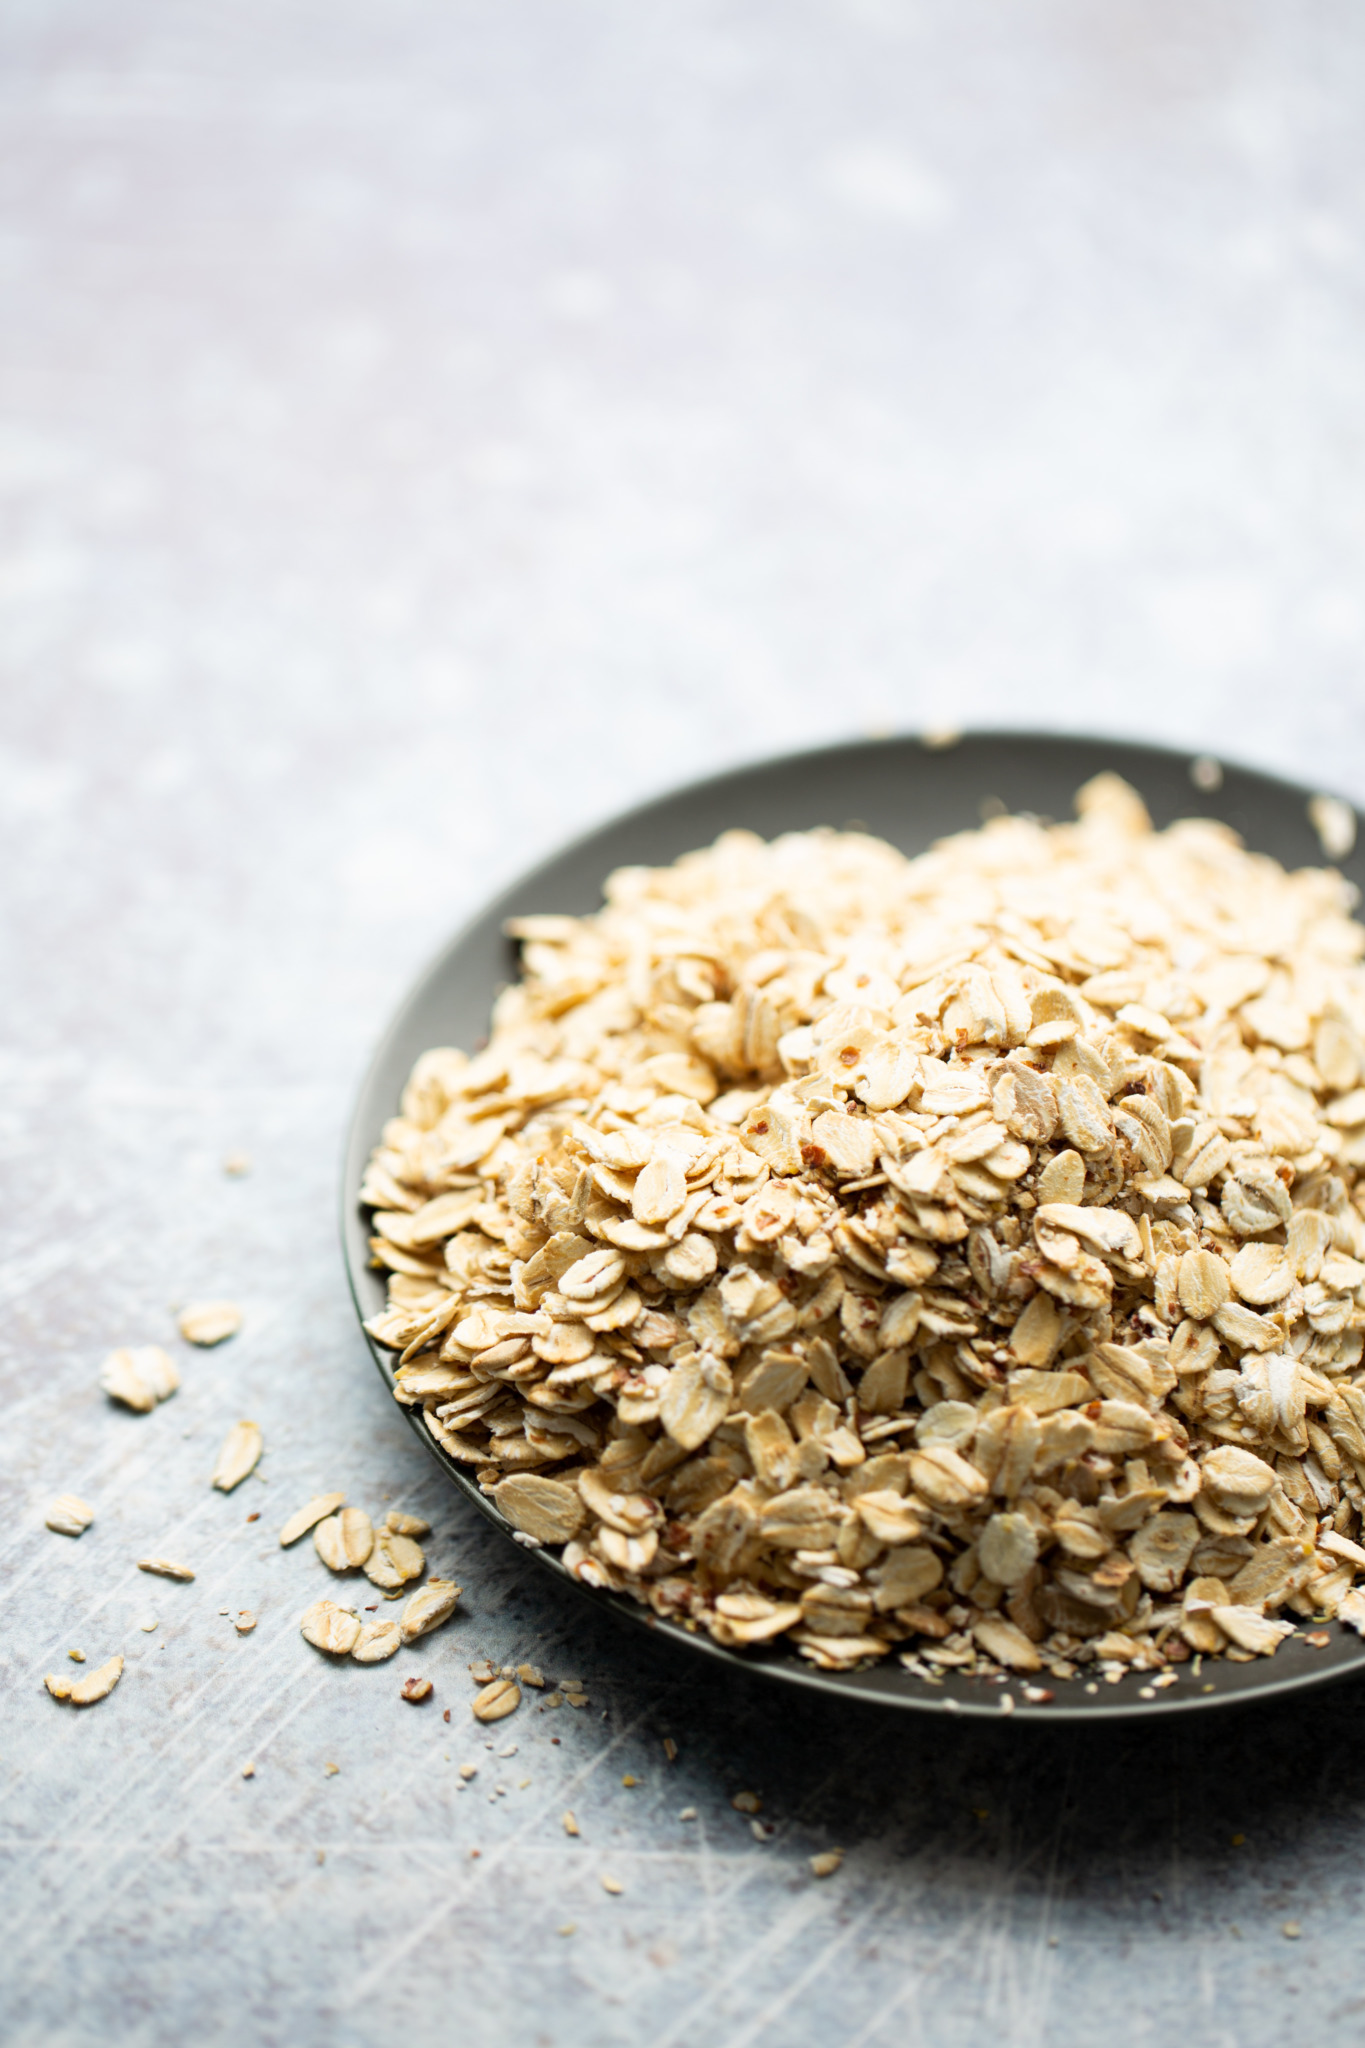
- Rolled oats: These give the creamiest result. Instant oats work in a pinch, but rolled oats are my preference. Avoid steel cut oats — they’re too unprocessed and produce a less creamy milk. Use certified gluten-free oats if needed.
- Water: Use cold water. Cold water helps prevent the milk from getting slimy — heat activates the starches in oats and makes them gummy (just like when you cook oatmeal).
- Optional add-ins: A pinch of salt, a splash of vanilla extract, or a drizzle of maple syrup for sweetness. Tip: Use liquid sweeteners instead of dates — the blend time is too short for dates to fully break down.
How to Make Oat Milk
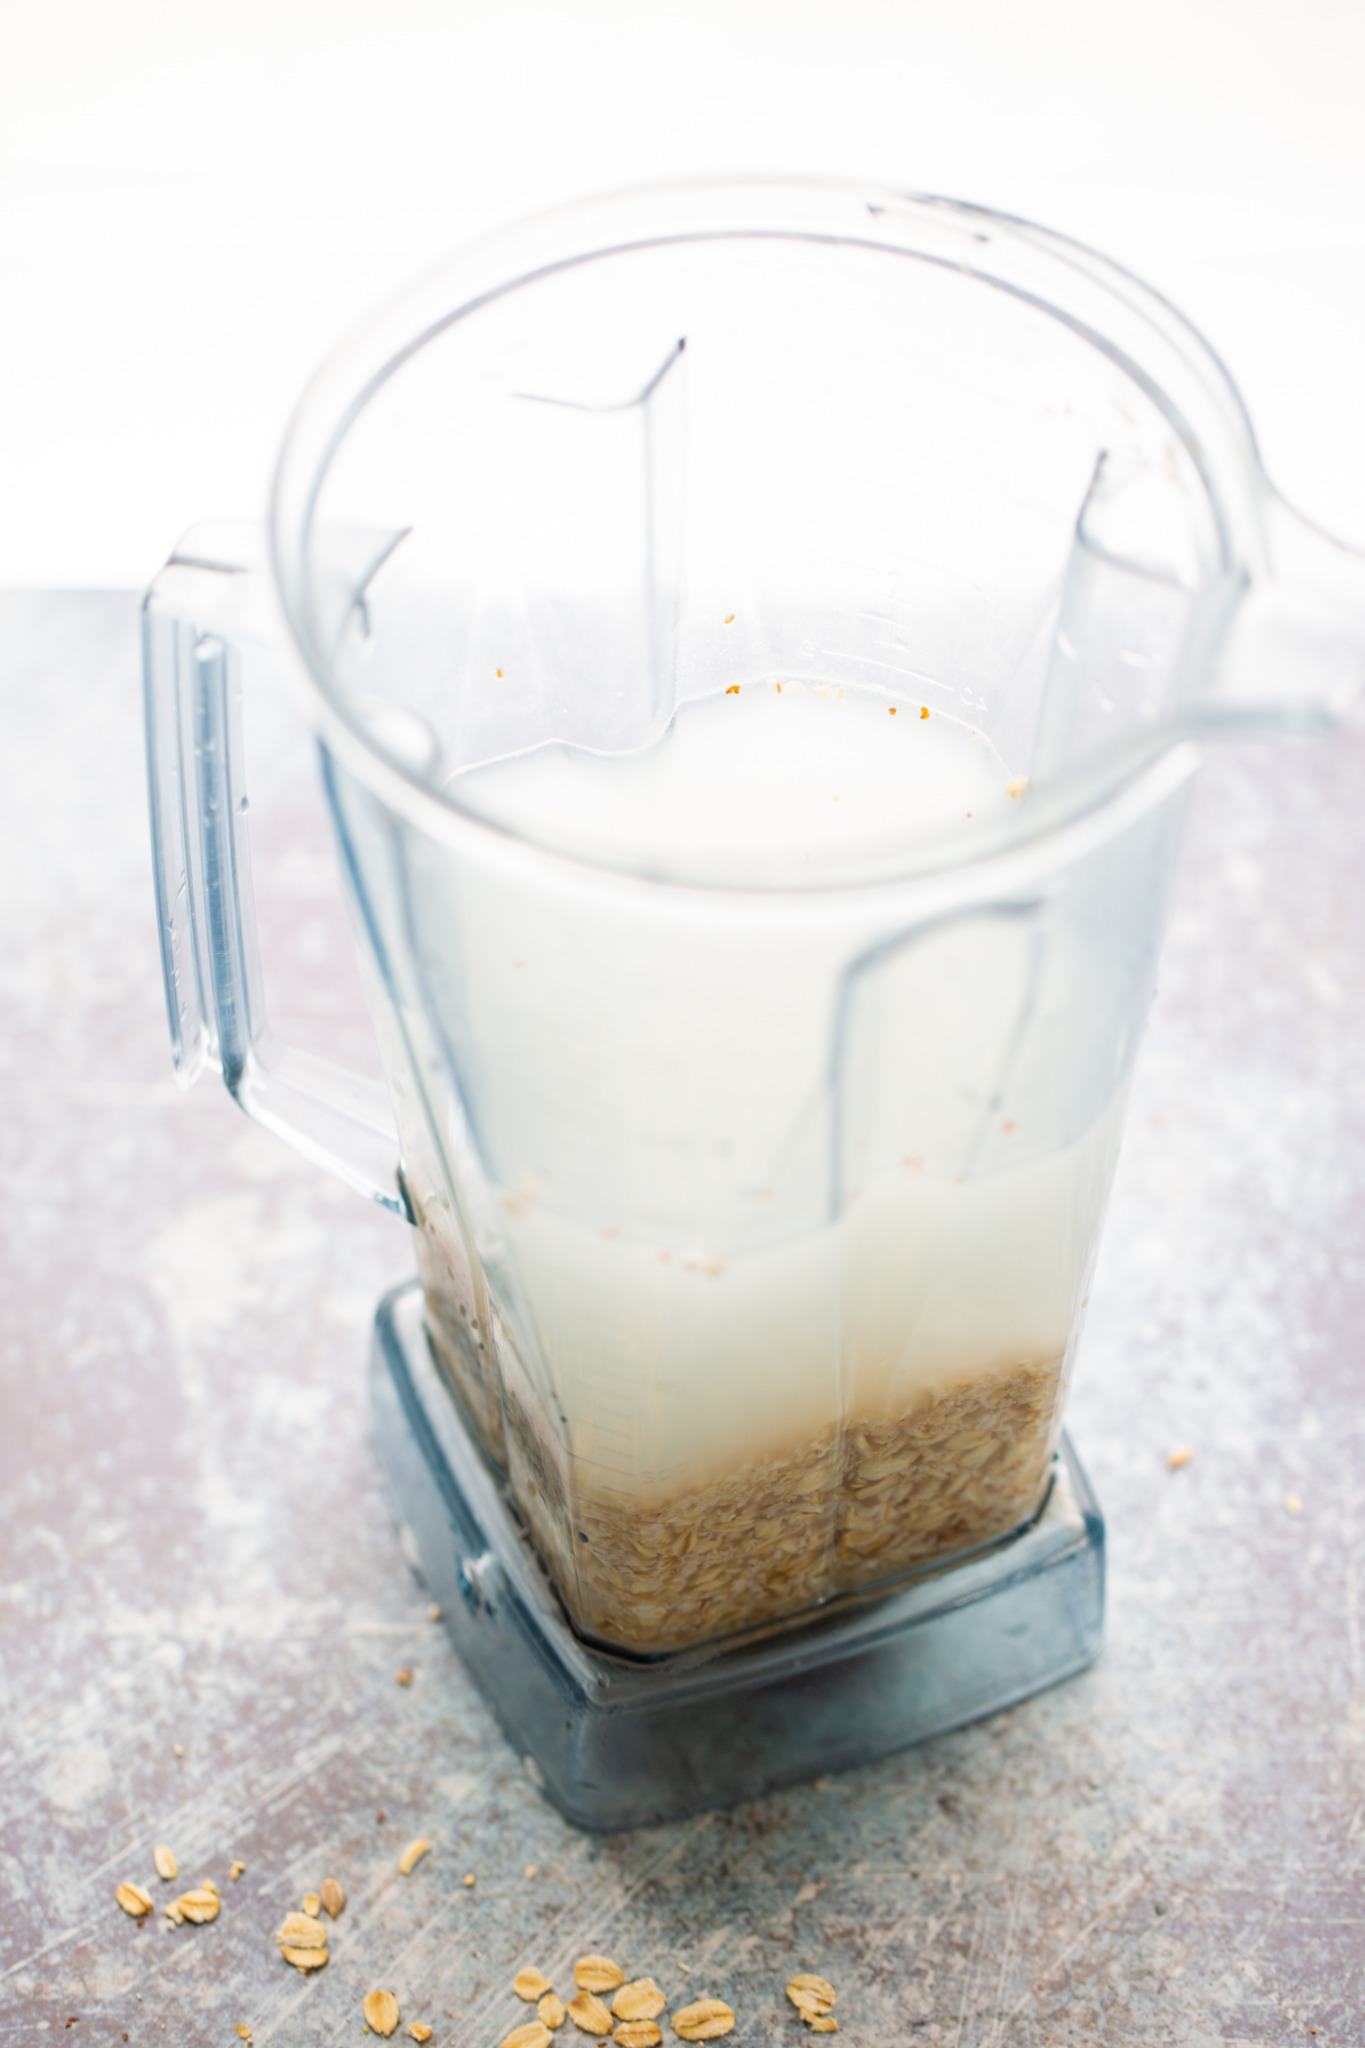
- Blend. Add 1 cup of rolled oats and 3–4 cups of cold water to a blender. Blend on high for no more than 30–40 seconds. Over-blending activates the starches and makes it slimy. Do not soak the oats beforehand — soaking also makes them more prone to sliminess.
- Strain. Pour the mixture through a nut milk bag, clean kitchen towel, or cheesecloth over a bowl or pitcher. Squeeze gently — pressing too hard pushes starch through and makes the milk gritty.
- Strain again (optional). For the smoothest possible oat milk, strain a second time through a fresh cloth or towel. This removes any remaining sediment and gives a cleaner texture.
- Season (optional). Stir in a pinch of salt, a splash of vanilla, or a drizzle of maple syrup.
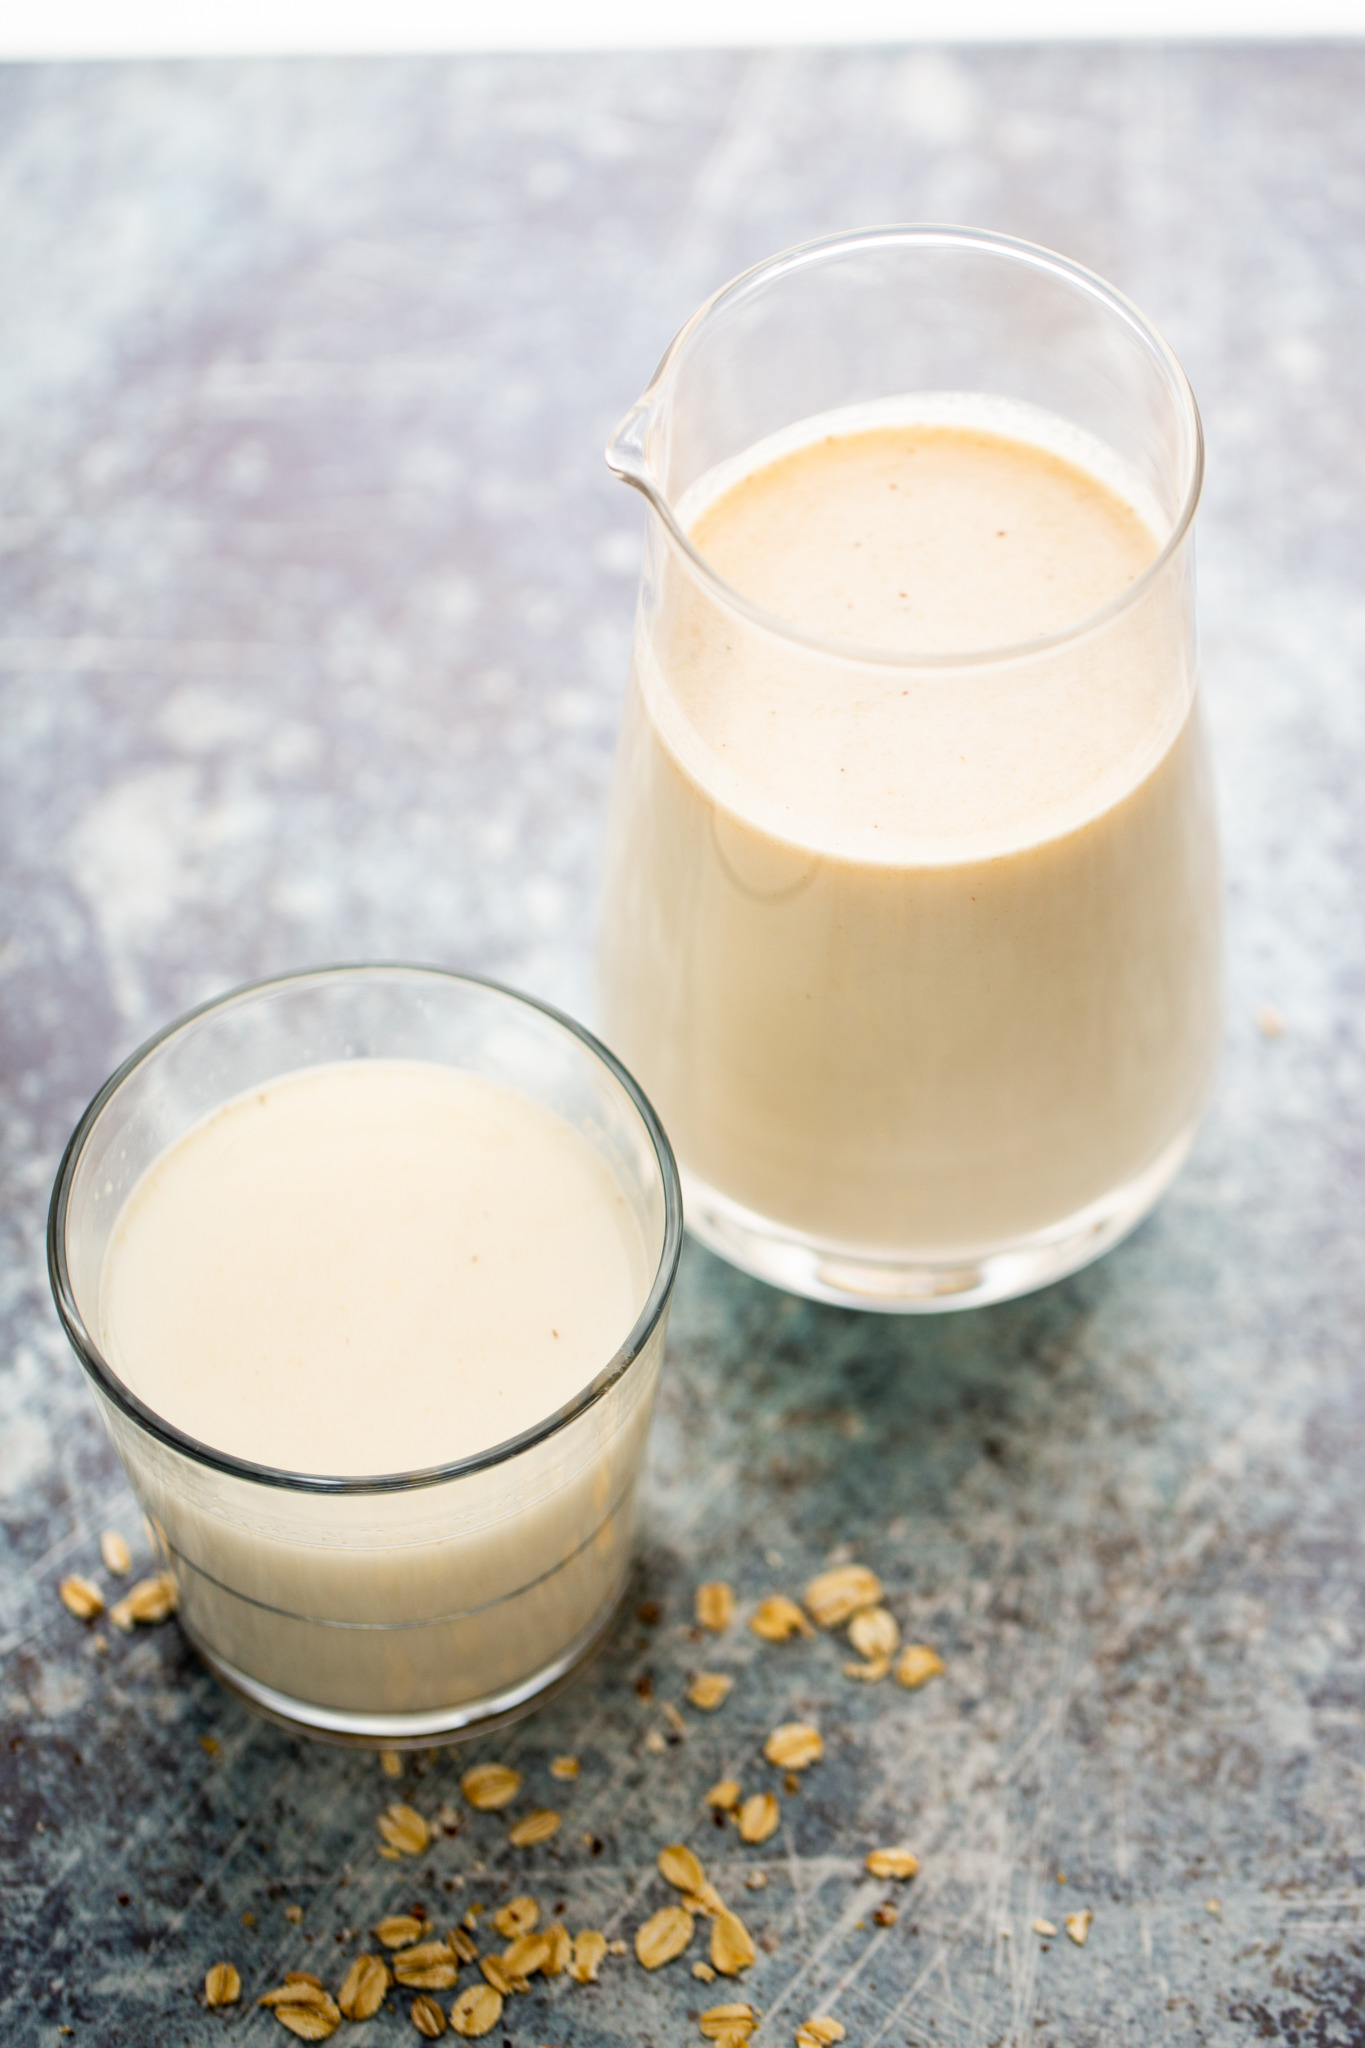
- Chill and serve. Transfer to a sealed bottle or jar and refrigerate. Oat milk tastes best when it’s cold.
How to Use Oat Milk
Use homemade oat milk anywhere you’d use dairy milk or any other plant-based milk:
- Coffee and lattes: It’s creamy enough to add body to your morning coffee. For matcha lattes, it’s especially good.
- Smoothies and smoothie bowls: Blends beautifully with fruit and greens.
- Cereal, granola, and overnight oats: The natural oat flavor pairs perfectly.
- Baking: Use it 1:1 in any recipe that calls for milk — muffins, pancakes, bread, cakes.
- Not ideal for savory dishes: The oat-y flavor can be noticeable in savory recipes. For those, almond or cashew milk works better.
Tips for the Best Oat Milk
- Don’t over-blend. 30–40 seconds max. Blending too long breaks down the starches and makes the milk slimy.
- Use cold water. Cold water keeps the texture smooth. Heat activates oat starches — that’s what makes oatmeal thick, and it’ll do the same to your milk.
- Don’t soak the oats. Unlike almond milk, oats don’t need soaking. Soaking actually makes them more prone to sliminess.
- Don’t squeeze the pulp too hard. Gentle pressure gives you cleaner, smoother milk. Squeezing hard pushes starch through and makes it gritty.
- Double strain for extra smoothness. If your first strain still has sediment, run it through a second time with a clean cloth.
- Don’t shake — pour from the top. Separation is normal. Instead of shaking (which mixes the settled pulp back in), just pour the creamy milk off the top.
- Use a high-speed blender if possible. A Vitamix or similar gives the smoothest result, but any blender works.
- Use liquid sweeteners. Maple syrup or agave work better than dates — the blend time is too short for dates to fully break down.
Variations
- Vanilla oat milk: Add 1 teaspoon of vanilla extract and a drizzle of maple syrup before blending.
- Chocolate oat milk: Blend in 1–2 tablespoons of cocoa powder and your preferred sweetener.
- Cinnamon oat milk: Add ½ teaspoon of ground cinnamon — perfect for lattes and oatmeal.
- Berry oat milk: Add a small handful of strawberries or blueberries to the blender for a naturally pink or purple milk.
- Extra creamy: Add 1 tablespoon of coconut oil or cashew butter before blending for a richer body.
- Barista-style: Add a tablespoon of neutral oil (sunflower or canola) — it froths better for lattes and matcha.
What to Do with Leftover Oat Pulp
Don’t throw it away! Leftover oat pulp is versatile:
- Add it to smoothies for extra fiber.
- Mix into oatmeal or overnight oats.
- Use in baking: oat pancakes, muffins, cookies, or energy balls.
- Stir into granola before baking.
- Use as a face mask or add to a bath — oats are naturally soothing for skin.
How to Store
- Refrigerator: Store in a sealed glass bottle or jar for up to 5 days. Separation is completely normal — pour from the top or give it a gentle stir.
- Freezer: Freeze in ice cube trays or freezer-safe containers for up to 1 month. Thaw in the fridge and stir before using.
- How to tell if it’s gone bad: If it smells sour or off, it’s time to make a fresh batch.
- No preservatives = no room temperature storage. Always keep it refrigerated.
Frequently Asked Questions
You Might Also Like
- Homemade Almond Milk
- Easy Cashew Milk
- Blender Oat Pancakes
- Vegan Oat Bars
- Stovetop Granola in 5 Minutes
- Granola Chunks with Almonds
⭐ Did you make this oat milk? I’d love to hear how it turned out — leave a rating and comment below!
Homemade Oat milk
Ingredients
- 1 cup of rolled oats use certified gluten-free oats if you are gluten intolerant
- 4 cups of water
Instructions
- Soak the rolled oats in water for 30 minutes to an hour.
- Drain and rinse well.
- Put them in the blender with 4 cups of fresh water and blend for about 1-2 minutes.
- Strain the milk with a very fine strainer, an old kitchen towel or a nut-milk bag.
- Store it in a glass container with a lid in the fridge, it will keep for 4-6 days.
Notes
- Don’t blend for more than 30–40 seconds or the milk will become slimy. Use cold water. Don’t soak the oats. Squeeze the pulp gently — pressing too hard makes it gritty. For extra-smooth milk, strain a second time.
- 1 tablespoon of maple syrup
- 2 pitted dates and a pinch of salt
- pinch of cinnamon
- teaspoon of vanilla
Nutrition
information
Nutritional information of this recipe is only an estimate, the accuracy for any recipe on this site is not guaranteed.

Hi, I’m Ale Graf!
I’m a Mexican home cook based in Texas and the voice behind AleCooks and Piloncillo & Vainilla.
I create easy, family-friendly recipes with Mexican roots and a plant-forward mindset—always flexible and made to bring people together. I’m also the co-author of Yo Cocino Latino and love helping home cooks feel more confident in the kitchen.
Come say hi on Instagram—I’d love to hear what you’re cooking.