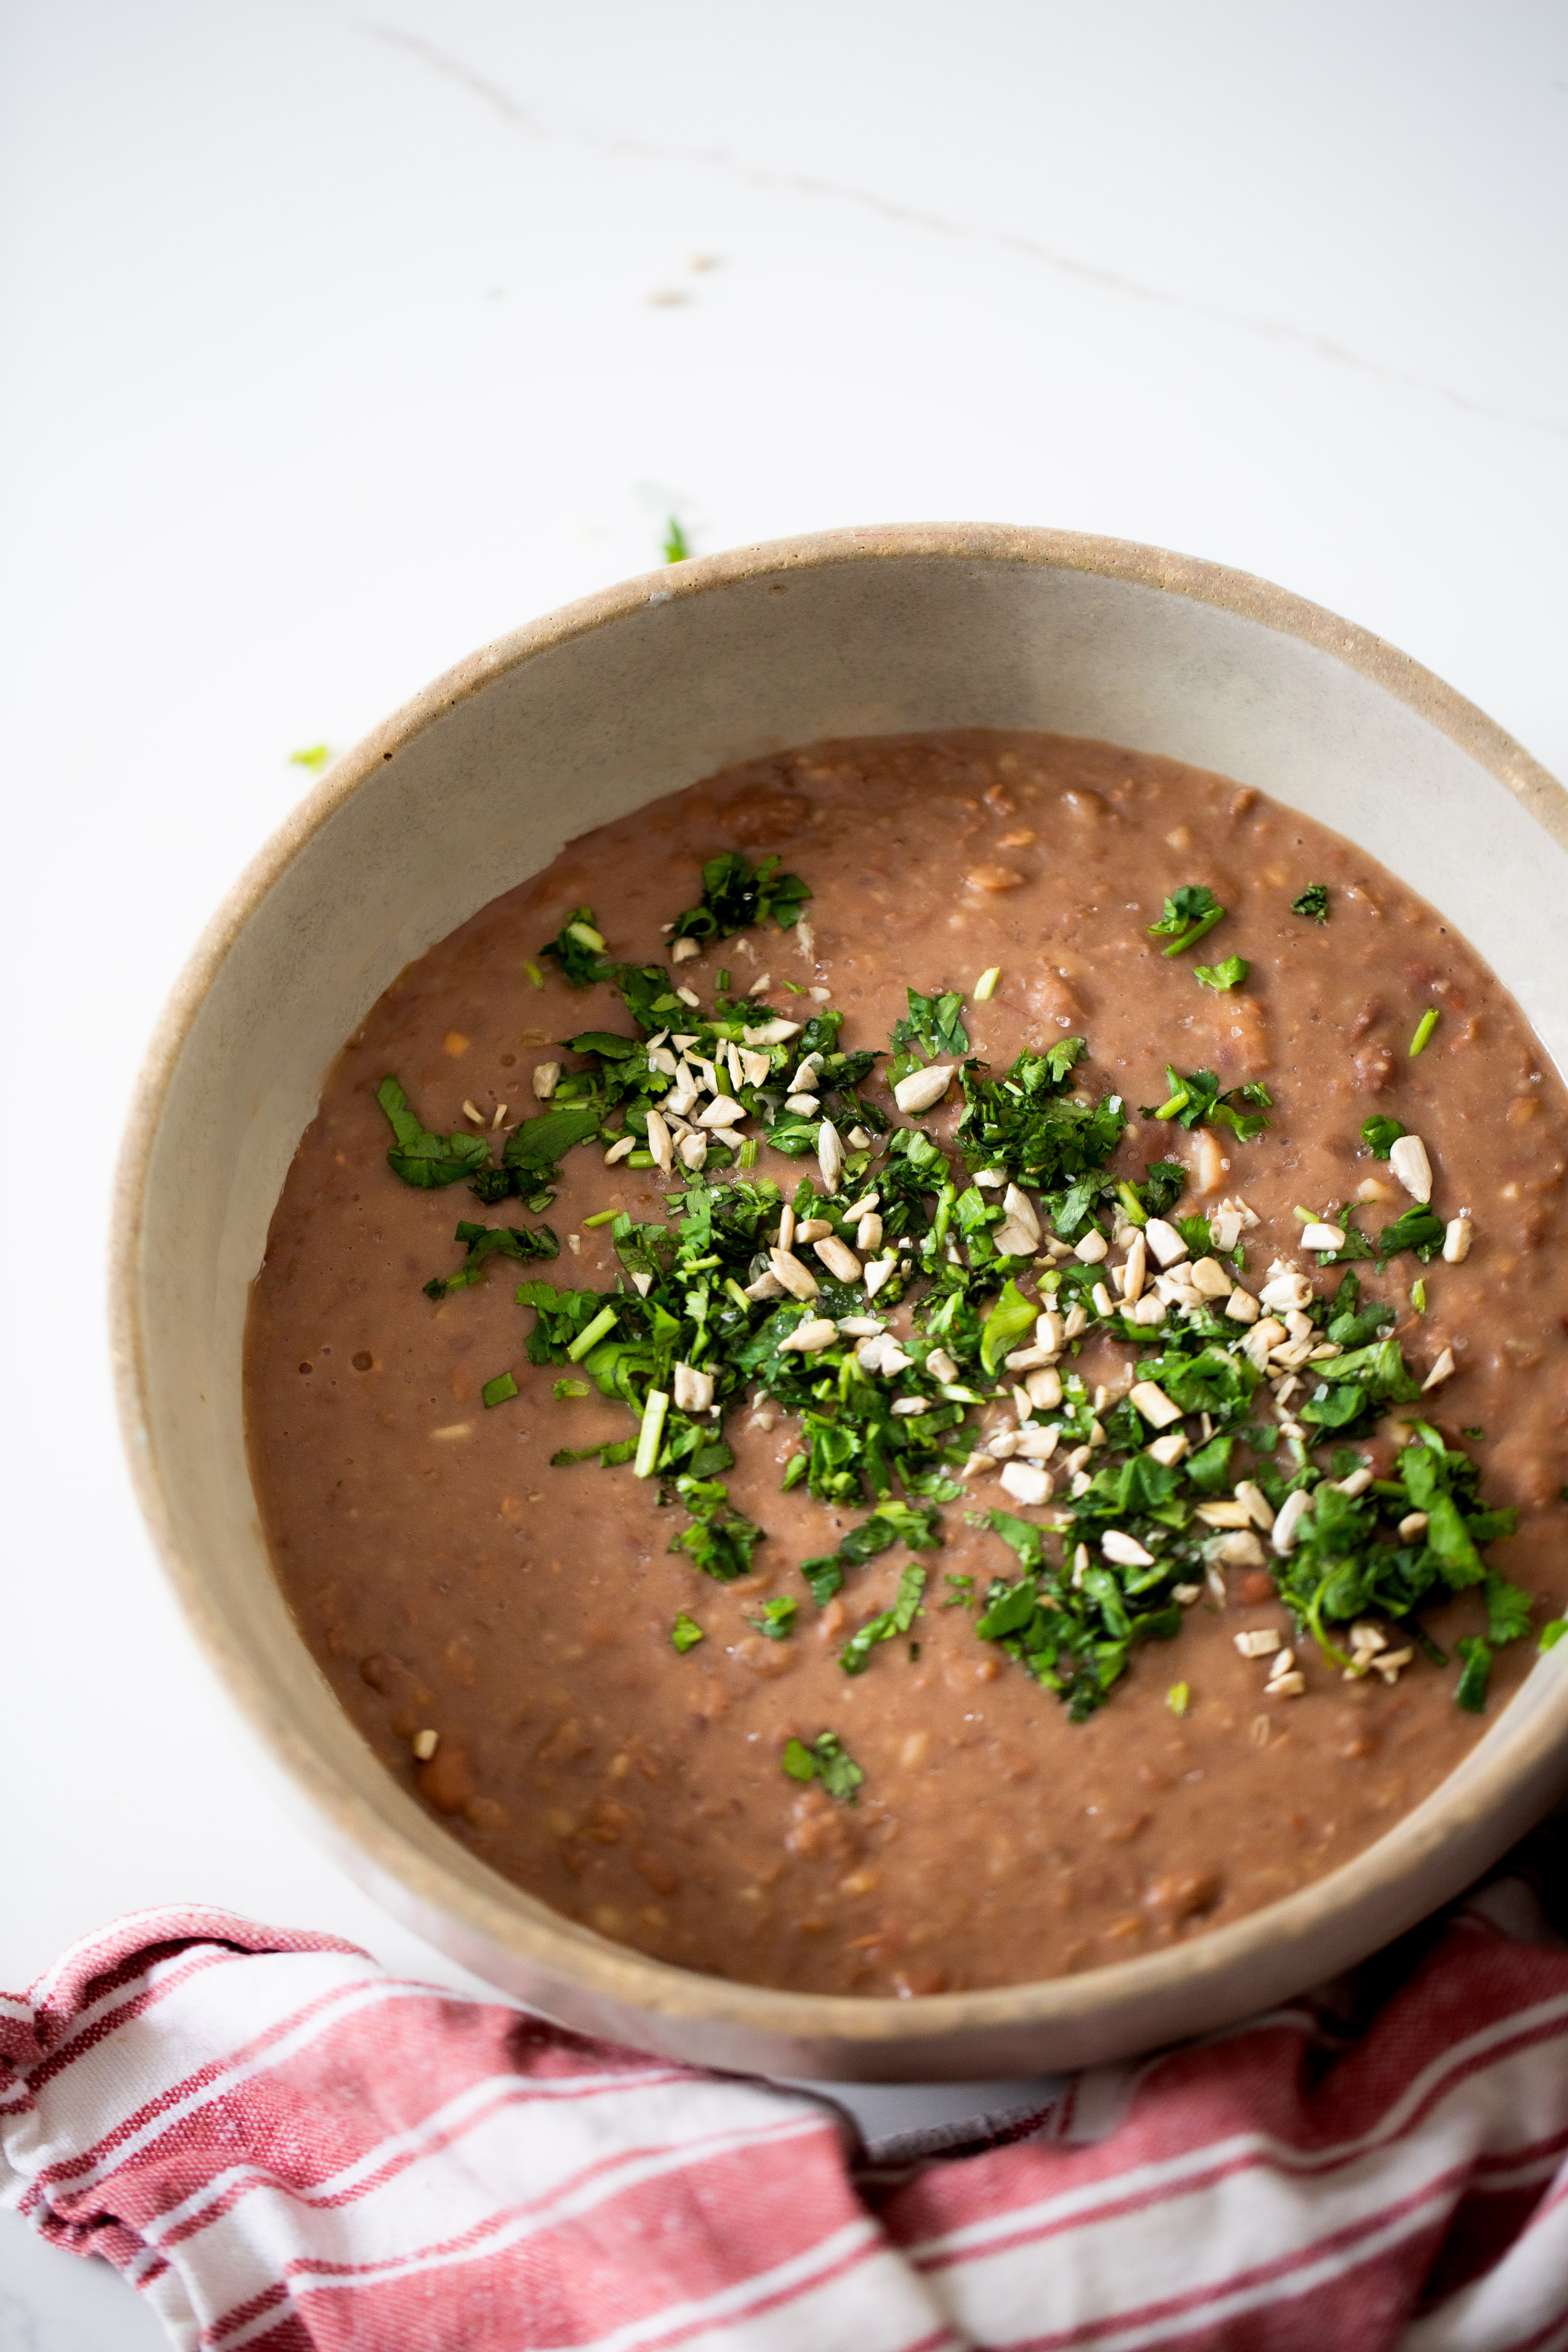
Instant Pot Refried Beans (No Soak Needed)
Creamy refried beans made from scratch in the Instant Pot with no soaking required. Just dried beans, onion, oil, and salt. Perfect for meal prep - they freeze and reheat beautifully.
8 servings
Calories: 198kcal
Ingredients
- 2 cups dried beans pinto or black, sorted and rinsed
- 6 cups water or vegetable broth
- 1/2 white onion quartered (for cooking) + 1/4 onion, finely diced (for sauteing)
- 2 tablespoons avocado oil or olive oil
- Salt to taste
Instructions
- Saute the onion. Set the Instant Pot to "Saute." Add the oil and diced onion. Cook, stirring occasionally, until golden and fragrant, about 3-4 minutes. Press "Cancel."
- Add the beans and liquid. Add the sorted and rinsed beans, quartered onion, and 6 cups of water or broth. Make sure the pot is no more than 2/3 full.
- Pressure cook. Secure the lid, set the valve to "Sealing," and select the "Beans/Chili" program or cook on high pressure for 30 minutes.
- Natural pressure release. Let the pressure release naturally for at least 20 minutes. Do not use quick release - natural release gives the beans a better texture and keeps the skins from splitting.
- Drain and save the cooking liquid. Drain the beans but save the cooking liquid in a separate bowl. Remove the quartered onion.
- Mash the beans. Return the beans to the Instant Pot (set to "Saute" on low) or transfer to a large skillet. Mash with a bean masher or potato masher to your desired texture. Add cooking liquid a little at a time if they get too thick.
- Season and serve. Add salt to taste now (adding salt after cooking keeps the skins tender). Remember: the beans will thicken as they cool, so leave them a bit looser than your target consistency. Serve hot.
Liquid ratio: Use 3 cups of water for every 1 cup of dried beans (1:3 ratio). For 2 cups of beans, use 6 cups of water. Do not fill the pot more than 2/3 full to prevent foam from blocking the valve.
Notes
No soak needed: The Instant Pot cooks dried beans without soaking. If you soak them for 6-8 hours, they'll be slightly creamier and cook faster, so reduce the cooking time to 15-20 minutes.
Oil: The oil used to saute the onion also helps reduce foam during pressure cooking.
Salt: Always add salt after cooking, not before. Salting before can toughen the skins.
Cooking liquid: Save it. It has tons of flavor and is the key to adjusting texture when mashing and reheating.
Texture: Mash less for chunky, rustic beans. Mash more (or use an immersion blender) for smooth beans. Always leave them a bit looser than you want - they thicken as they cool.
Too runny? Use the "Saute" function to simmer off excess liquid while mashing.
Too dry when reheating? Stir in a splash of saved cooking liquid or warm water.
Storage: Refrigerate in an airtight container for up to 5 days. Freeze in individual portions for up to 3 months. Reheat in a skillet over low heat with a splash of broth or water.
Meal prep: Make a double batch and freeze in silicone bags or small containers. Great to have on hand for busy weeknights.
Not vegan? You can saute the onion in lard for a more traditional flavor.
Nutrition
Serving: 1serving | Calories: 198kcal | Carbohydrates: 31g | Protein: 10g | Fat: 4g | Saturated Fat: 0.3g | Polyunsaturated Fat: 1g | Monounsaturated Fat: 2g | Trans Fat: 0.01g | Sodium: 711mg | Potassium: 635mg | Fiber: 7g | Sugar: 3g | Vitamin A: 376IU | Vitamin C: 3mg | Calcium: 40mg | Iron: 3mg